WordPress offers an easy way to change the site navigation on your site.
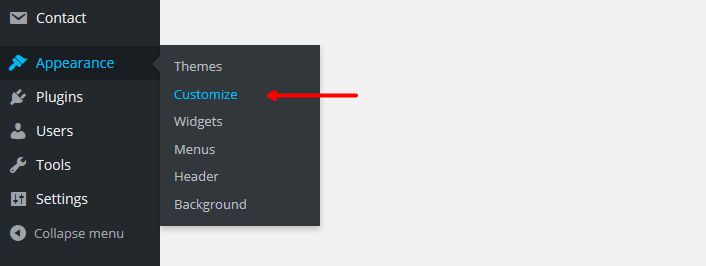
To create or edit a navigation menu on your site, go to Appearance > Customize.
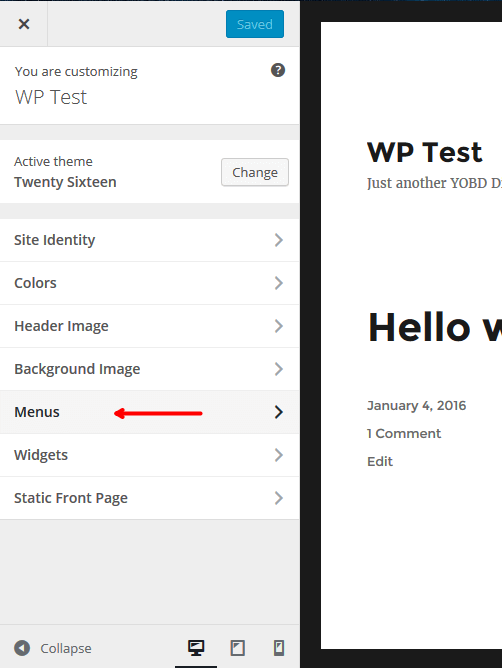
This will open the customizer. Once that has loaded, go to Menus.
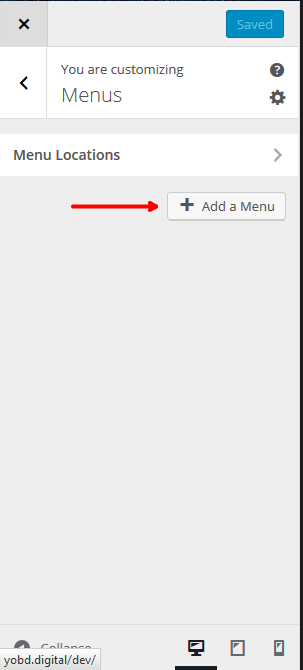
To create a new menu, click on Add a Menu.
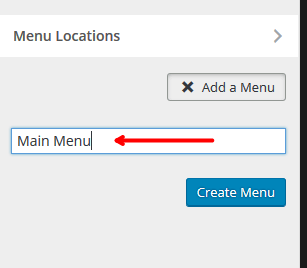
And then type a name for your new menu (this can be anything but should reflect the menus used or location). Once you have given your menu a name, click Create Menu.
Once you have created your menu, you then need to select one or more locations for your menu to be displayed. The number of possible locations will differ from theme to theme.
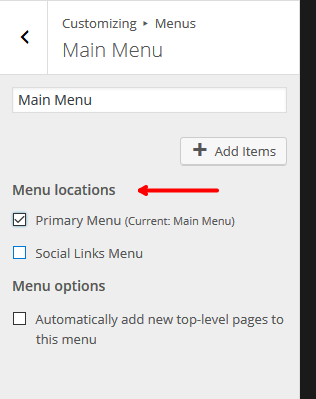
If you would like WordPress to automatically add new top-level pages to this menu as new navigation items, then click Automatically add new top-level pages to this menu.

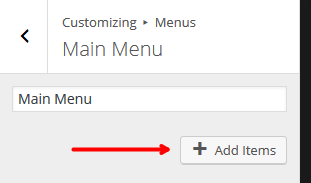
After you have selected a location for your menu, you can then add navigation items to it by clicking Add items.
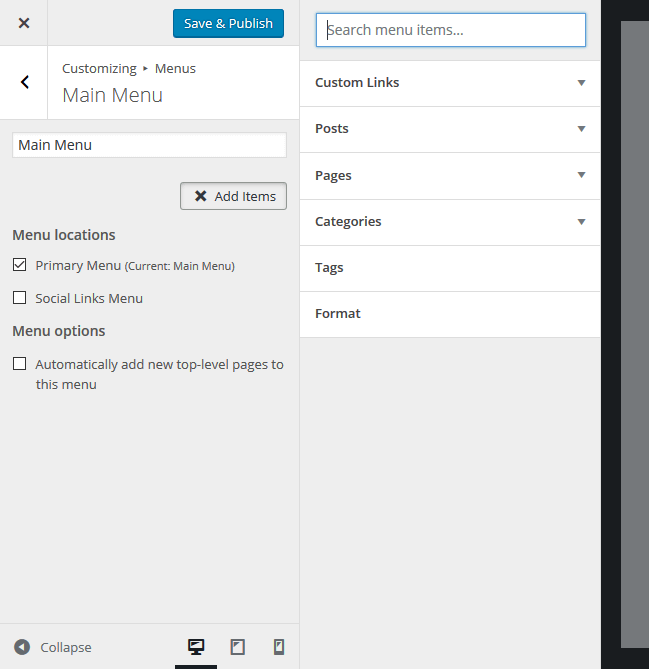
You then have several options depending on what items you want to add to your menu:
- Custom links – generally a link to something outside your site but can be anything
- Posts – a list of all your posts
- Pages – a list of all the pages on your site and is most commonly what you will be using
- Categories, Tags and Format – a link to the relevant archive page for the selected item
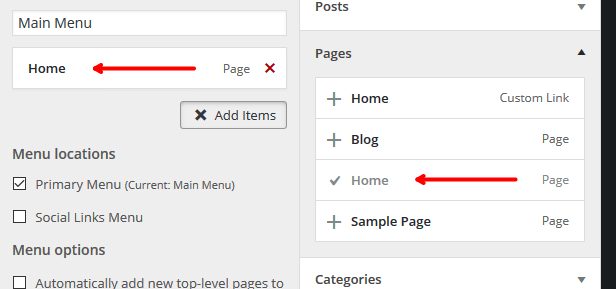
In most circumstances, you will just be using pages in your menu. To add an existing page to your menu, click Pages.
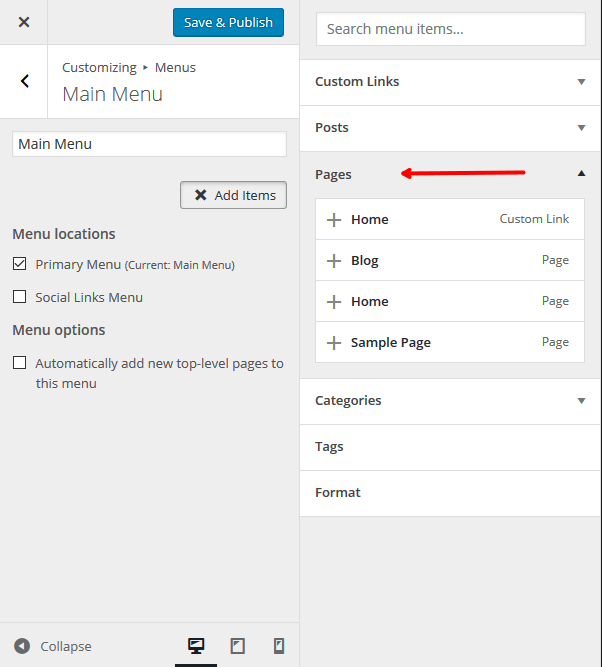
Then you can select the page you want to add to your menu.
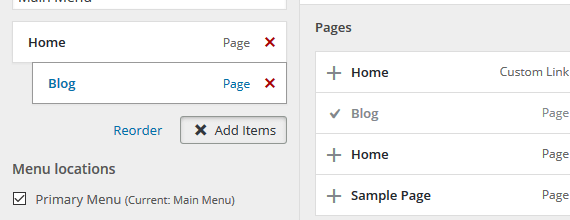
To add a page as a sub-item, add it the same as above and then drag it to the right.
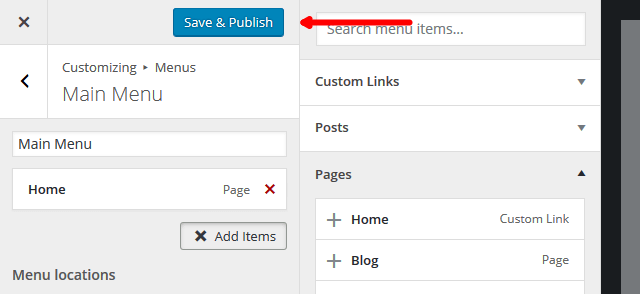
When you have finished adding pages to your menu, click Save & Publish.
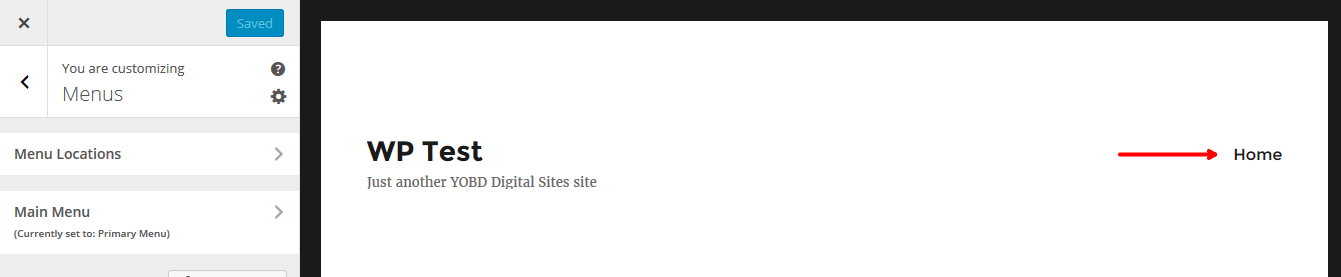
Your menu has now been saved, and the navigation items applied to your site’s navigation.
If you need help with your HostPapa account, please open a support ticket from your dashboard.
