In this tutorial, we will explain step by step how to change WordPress language after installation. If you haven’t installed WordPress yet, check out this article.
Though WordPress default language is English, you get to choose between 65 languages and more than 160 translations! But note that changing the WordPress site language only translates the Dashboard language and some text displayed in themes. It does not translate your page content.
If you want to learn how to change a theme language in WordPress, you might need to check your theme’s documentation to do so.
How to change WordPress language after installation
- Log in to your WordPress dashboard and go to Settings>>General.
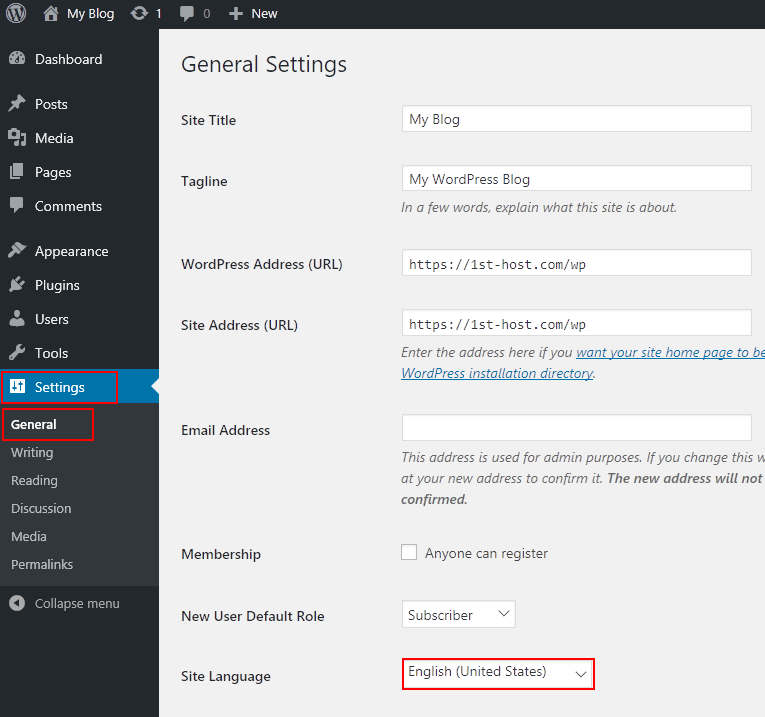
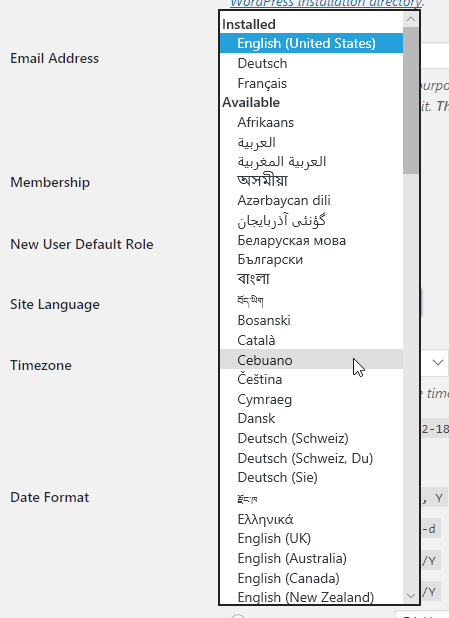
- In the Site Language dropdown list, select the language you want to use.
- Click Save Changes.
If you can’t find the language you want to use, check the steps in the next section: How to install a language manually.
How to install a language manually for WordPress
If the language you want to use isn’t included in your installation, you can download the language file from the WordPress website and install it manually. Just follow these steps:
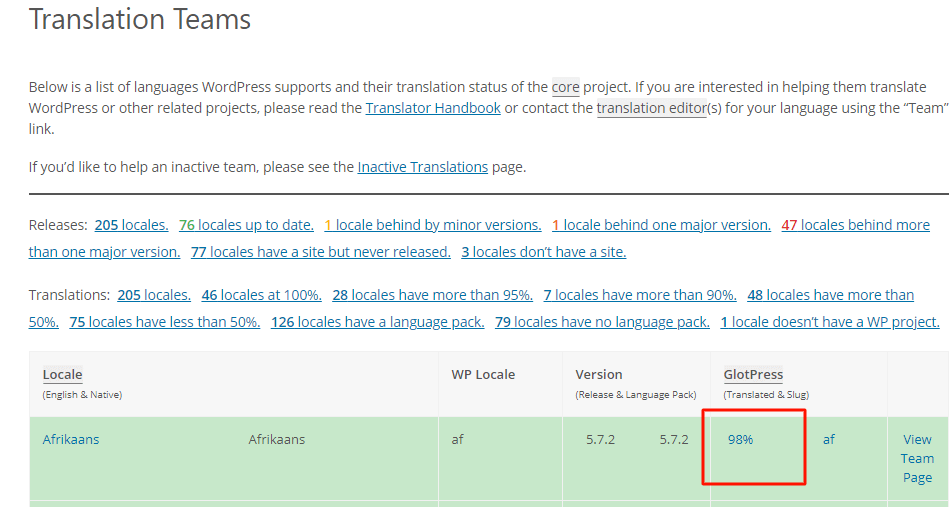
- Go to the WordPress translation website.
- Scroll down to the Translation Teams section and find the language you want to install.
- Click on the percent complete value.
- In the Set / Sub Project column, click the WordPress version number for your installation. If you see the Development status as in the next example, the translation hasn’t completed testing, but you can download it.

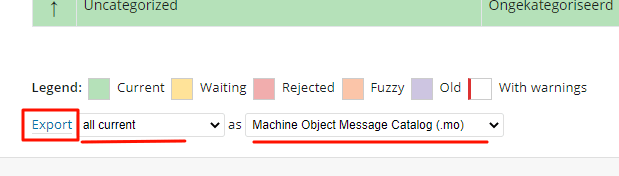
- Scroll down to the export settings and choose all current as Machine Object Message Catalog (.mo) as the export file type.
- Click Export to get the .mo file downloaded.
How to install the language file in WordPress
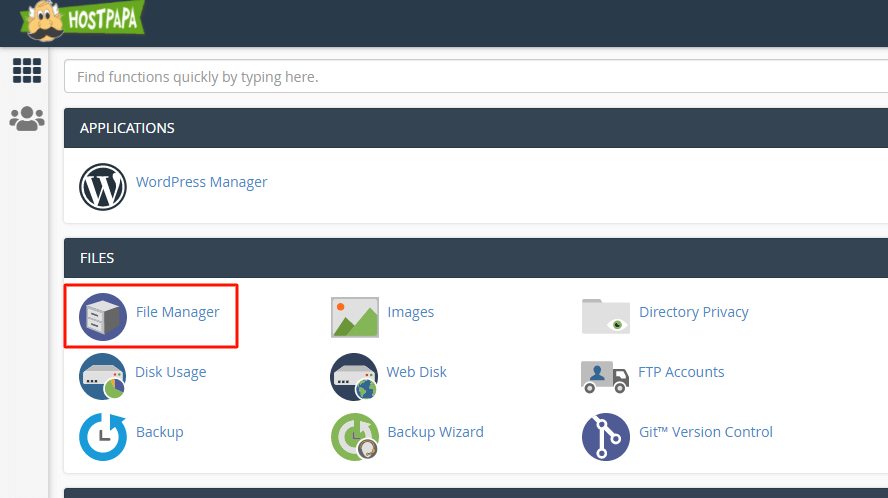
- Log in to your HostPapa cPanel and click on File Manager.
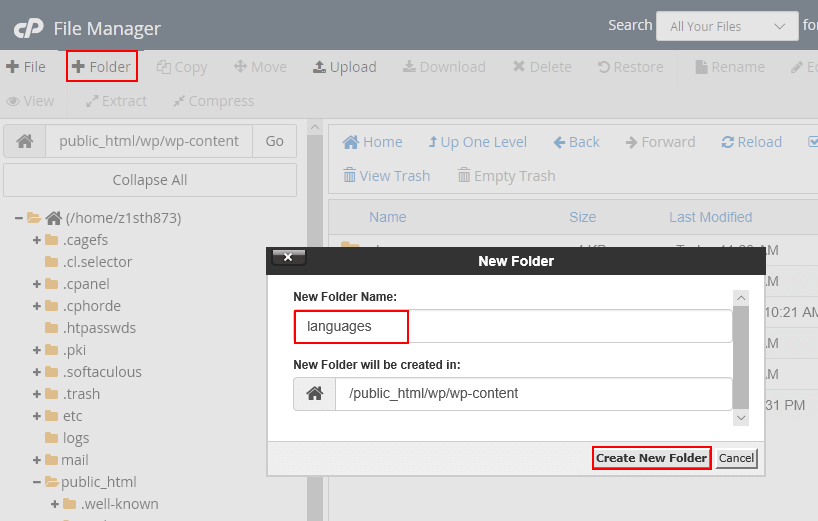
- Find the folder app/languages on the left sidebar. If you don’t have that folder, click on +Folder to create it.
The folder should be located in /public_html/wp/app, and the folder name should be languages. Then, click Create New Folder.
- Open the languages folder and click Upload from the top menu.
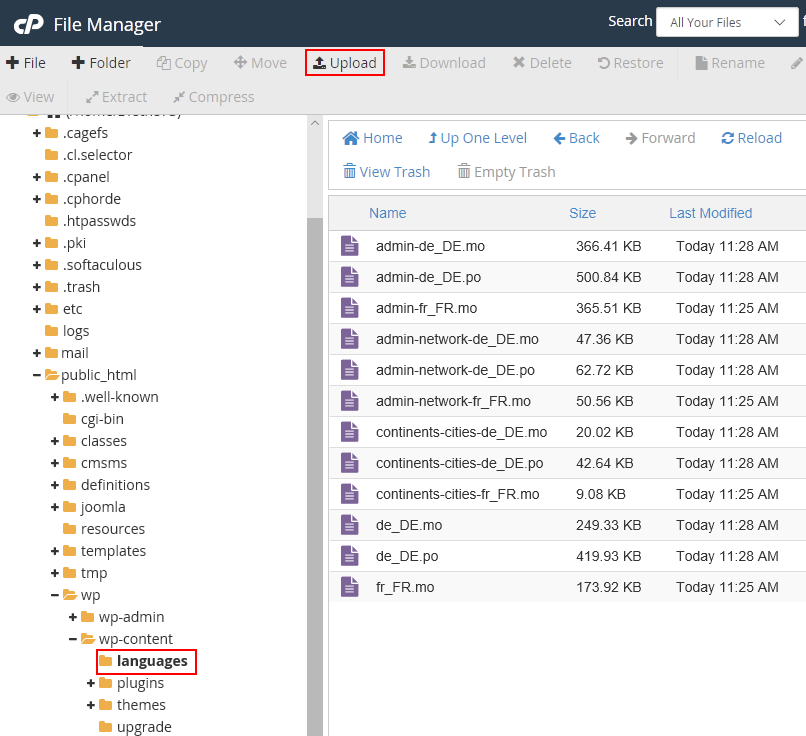
- Drag and drop or select the .mo file you downloaded from the WordPress translation team website.
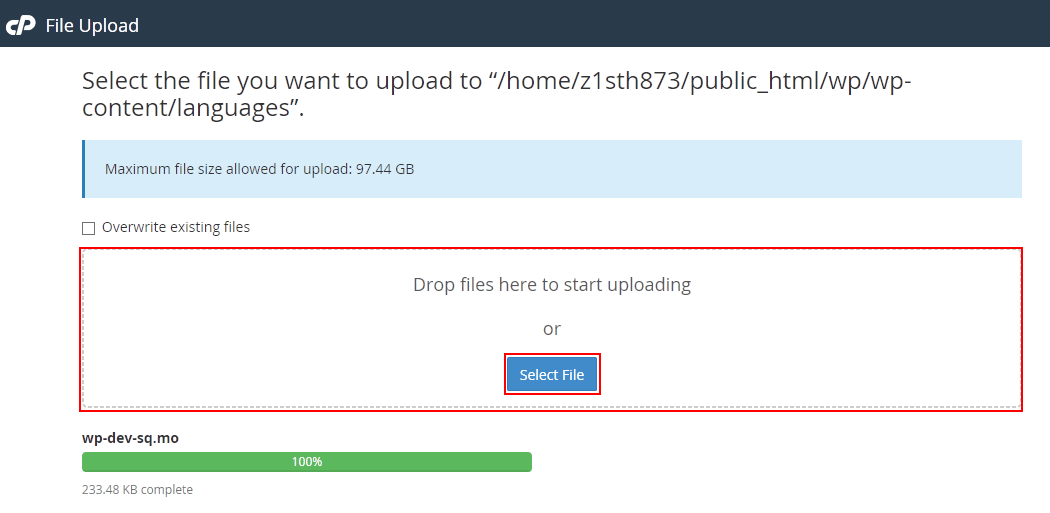
- Wait until the upload is completed to log out from cPanel.
- Follow the steps from the first section of this article: How to change WordPress language after installation.
If you need help with your HostPapa account, please open a support ticket from your dashboard.
