In this article, we’ll show you how to create a WordPress staging site through your HostPapa Managed WordPress Dashboard. This staging website will help you test any changes or new features before publishing it.
Just follow these steps!
- Log in to your HostPapa Dashboard.
- Click on My WordPress.

- Select the website name you would like to manage.

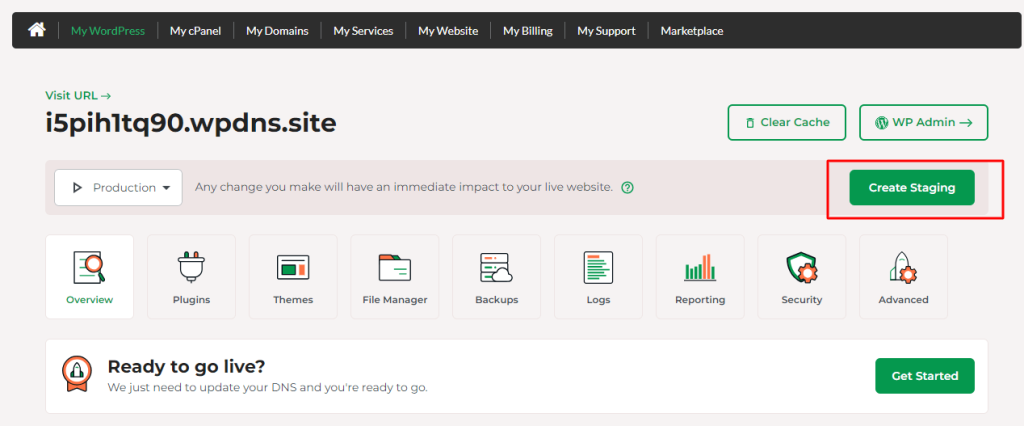
- HostPapa’s Managed WordPress control panel will open.
- Click Create Staging to automatically create a staging copy of your website.
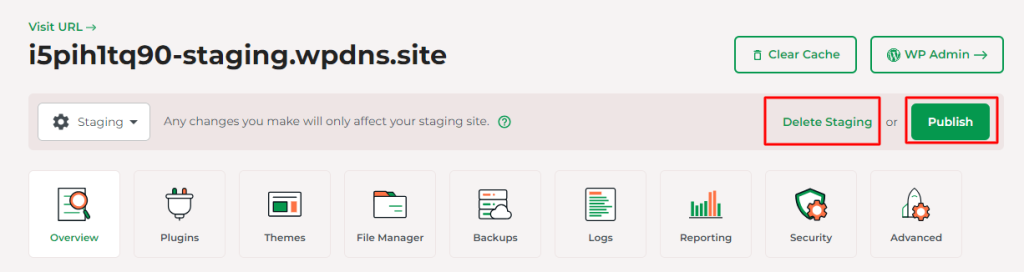
- Your Dashboard will take a few minutes to create a WordPress staging site. Once it is ready, you will be able to Publish it or Delete it.
If you need help with your HostPapa account, please open a support ticket from your dashboard.
