For more impact on your AbanteCart storefront, you can create and embed promotional graphic or text banners. These can be used to raise awareness and direct traffic to specific areas of your store or even as advertising banners that link to sponsor pages or external websites.
Access AbanteCart’s Banner Manager in the administration dashboard at Design > Banner Manager.
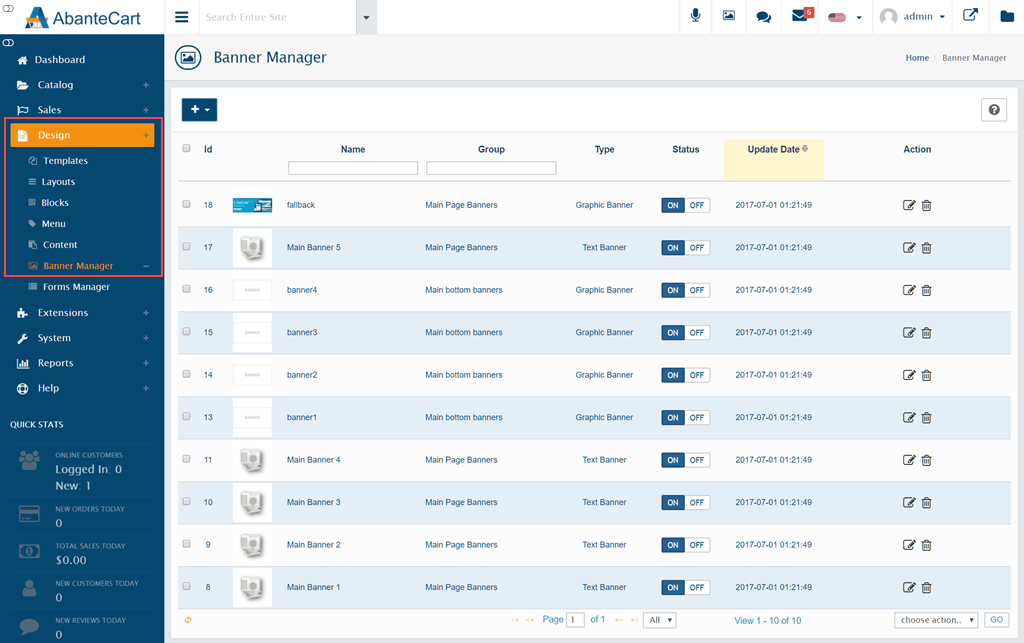
You’ll be presented with a list of available banners – the list can be filtered using the Name or Group fields at the top of the page. Banners can be managed using AbanteCart’s default controls, which include a Status button plus Edit and Delete icons to the right of each entry.
Edit a banner
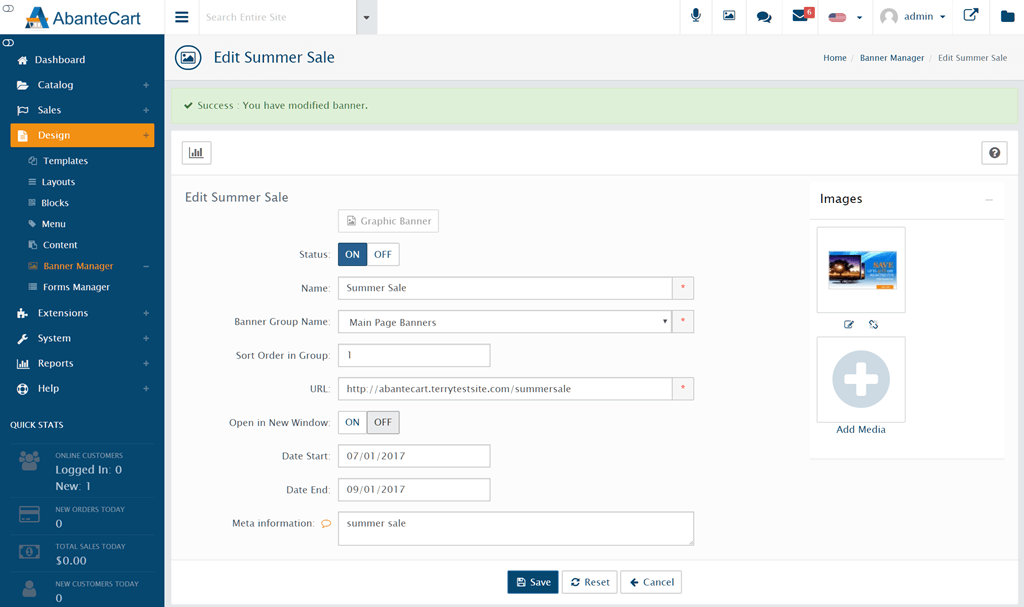
Click the Edit button to tweak an existing banner configuration.
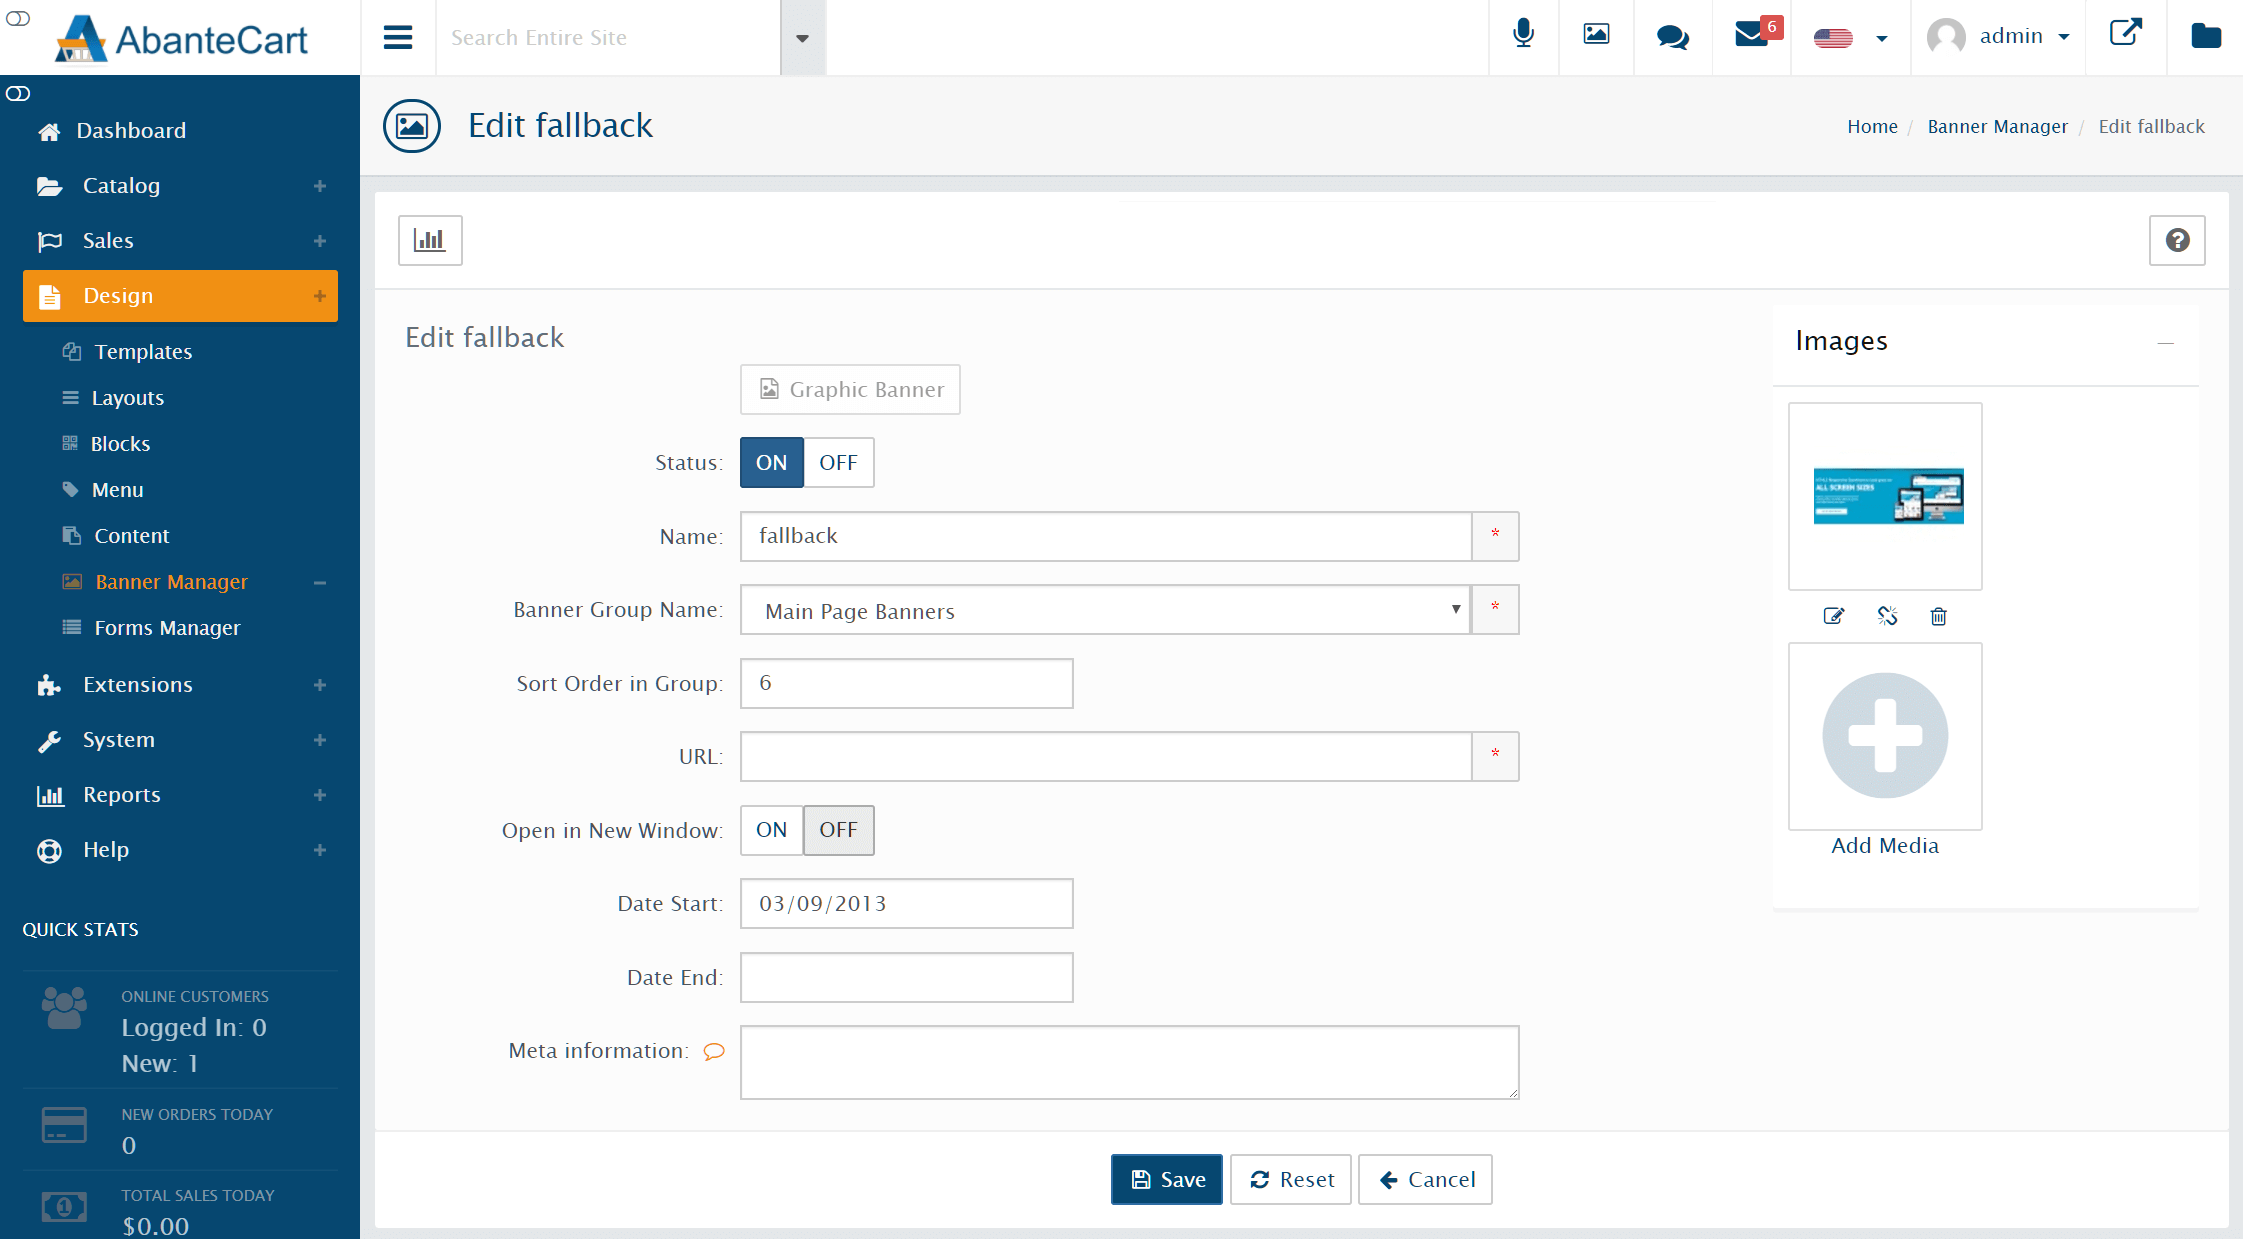
At the top of the page, you can see whether a banner is configured as a graphic or as text. The fields can be configured as follows:
- Status: Must be set to On for the banner to appear in your store. If you wish to simply deactivate a banner, but retain it for later use, click the Off button.
- Name: Give your banner a descriptive name to ensure it is easily located.
- Sort Order in Group: If the banner is part of a group, this field sets the order in which the banner will be displayed among others.
- URL: A destination URL link for your graphic banner.
- Open in New Window: Determines whether a graphic banner link opens in a new or existing browser window.
- Date Start/End: Select start & end dates for the period in which your banner will be visible on the store front. Leave blank to display the banner continuously.
- Meta information: Enter any keywords to be associated with a graphic banner for SEO purposes.
To the right of the page, you can use the Edit button to select a new image to be used as a graphic banner, to unlink or delete an image.
Create a new banner
Use the Add + button at the top of the page to create a new banner. The dropdown arrow next to the button allows you to select a graphic or text banner.
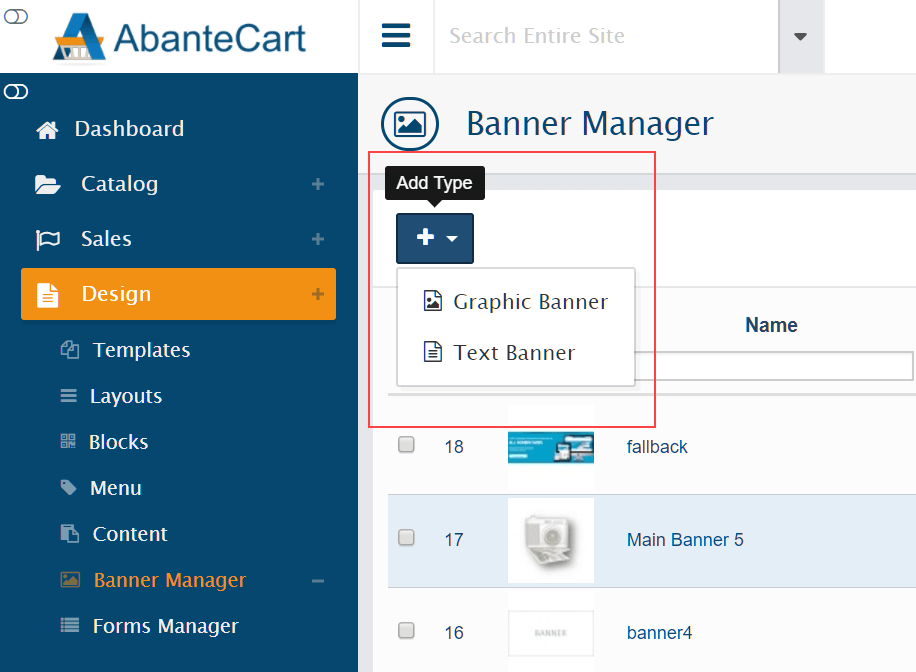
Depending on your selection, the resulting configuration will vary.
For graphic banners, you’ll see the following:
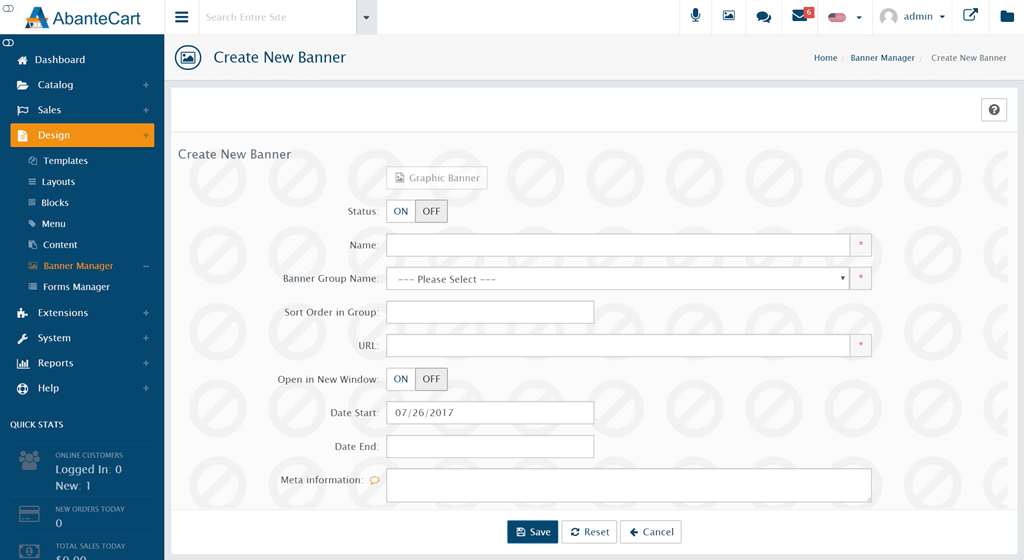
- Status: Must be set to On for the banner to appear in your store. If you wish to simply deactivate a banner, but retain it for later use, click the Off button.
- Name: Give your banner a descriptive name to ensure it is easily located.
- Banner Group Name: Use the dropdown menu to select an existing banner group or to create a new one.
- Sort Order in Group: If the banner is part of a group, this field sets the order in which the banner will be displayed among others.
- URL: A destination URL link for your graphic banner.
- Open in New Window: Determines whether a graphic banner link opens in a new or existing browser window.
- Date Start/End: Select start & end dates for the period in which your banner will be visible on the store front. Leave blank to display the banner continuously.
- Meta information: Enter any keywords to be associated with a graphic banner for SEO purposes.
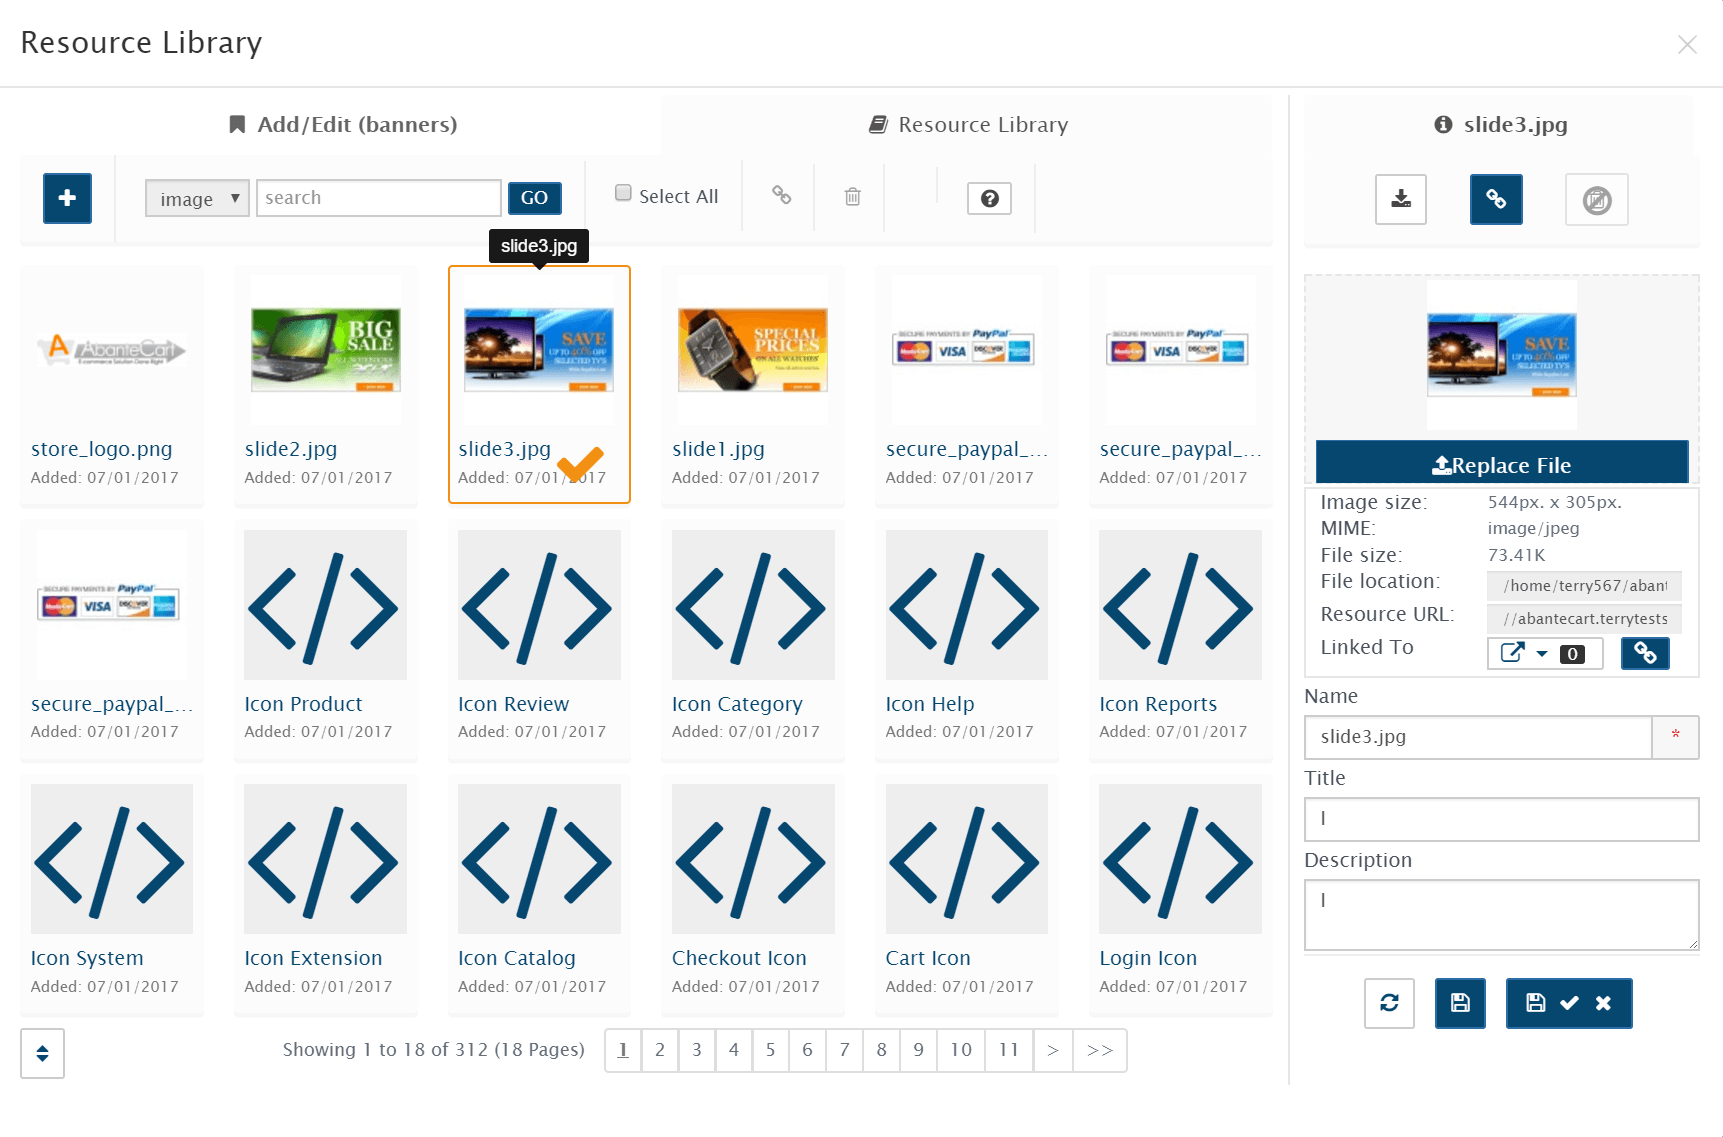
Once you’ve completed the form, use the Add + button on the right of the page to select a banner image from your resource library. You can also add a new image to use for the banner from the Resource Library panel that appears.
Click the Save button to complete banner configuration.
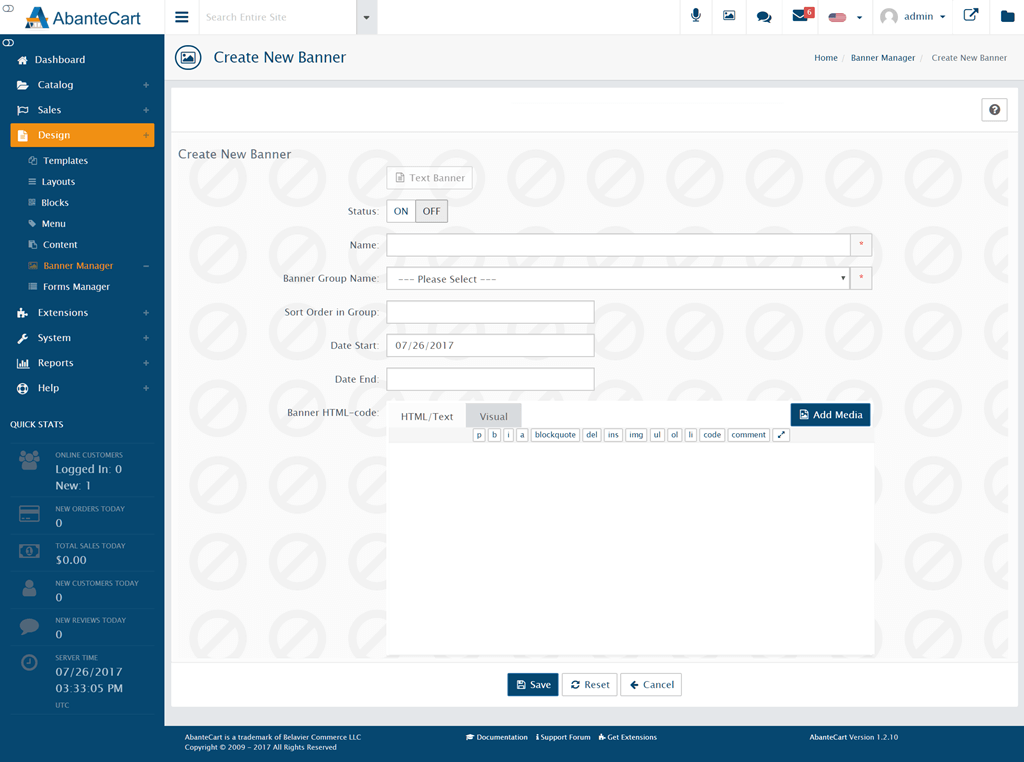
For text banners, complete the following information:
- Status: Must be set to On for the banner to appear in your store. If you wish to simply deactivate a banner, but retain it for later use, click the Off button.
- Name: Give your banner a descriptive name to ensure it is easily located.
- Banner Group Name: Use the dropdown menu to select an existing banner group or to create a new one.
- Sort Order in Group: If the banner is part of a group, this field sets the order in which the banner will be displayed among others.
- Date Start/End: Select start & end dates for the period in which your banner will be visible on the store front. Leave blank to display the banner continuously.
- Banner-HTML-code: Enter the text to be used for your banner. This can be formatted using HTML tags and should include the destination link. Switch between the HTML/Text and Visual tabs to view the HTML code or a visual representation of the text banner. You can also click the Add Media button to drop in code snippets from the resource library.
Click the Save button to complete banner configuration.
Display banners on your storefront
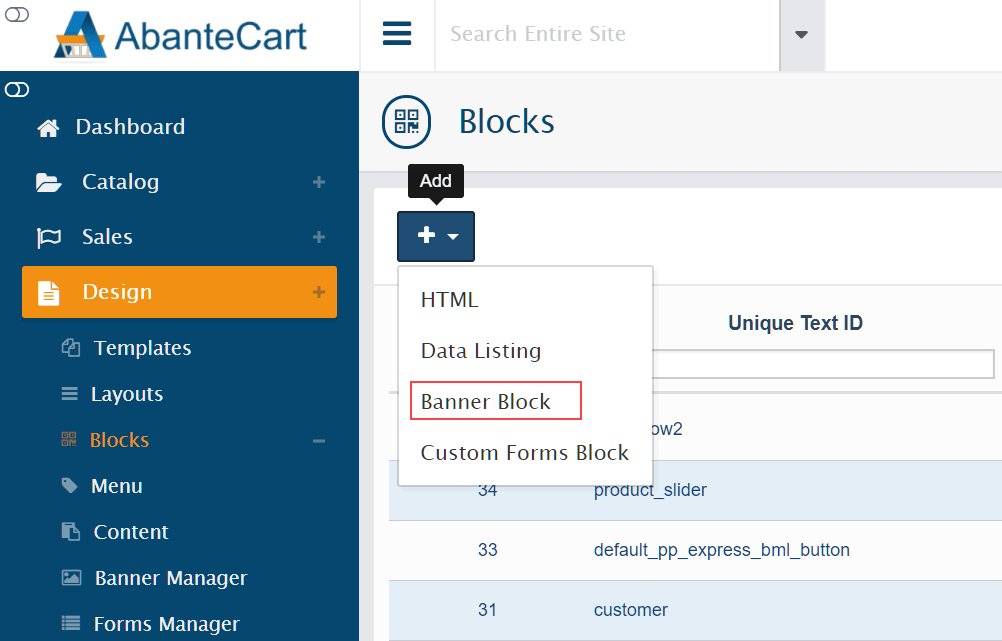
To display your banner on your AbanteCart storefront, it needs to be assigned to a display block on the relevant page layouts. Head to Design > Blocks and click the arrow next to the Add + button. In the dropdown menu that appears, select Banner Block.
Complete the following fields:
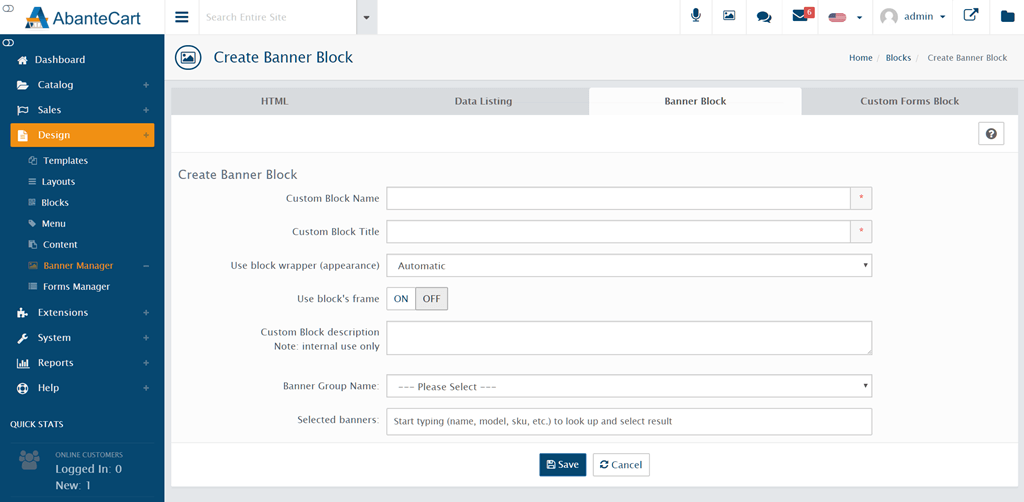
- Custom Block Name: Give your banner a descriptive name to ensure it is easily located.
- Custom Block Title: Will be displayed in the block heading on layout pages.
- Use block wrapper (appearance): Select a specific design template for the block wrapper or choose Automatic.
- Custom Block description: Create a blog description, if required.
- Banner Group Name: Select a group using the dropdown menu if you want to display all banners within a group.
- Selected banners: Alternatively enter a banner name to select a specific banner.

Now that the block has been created, you can insert it in any layout template. Head to Design > Layouts and select a template using the dropdown menu at the top of the page.
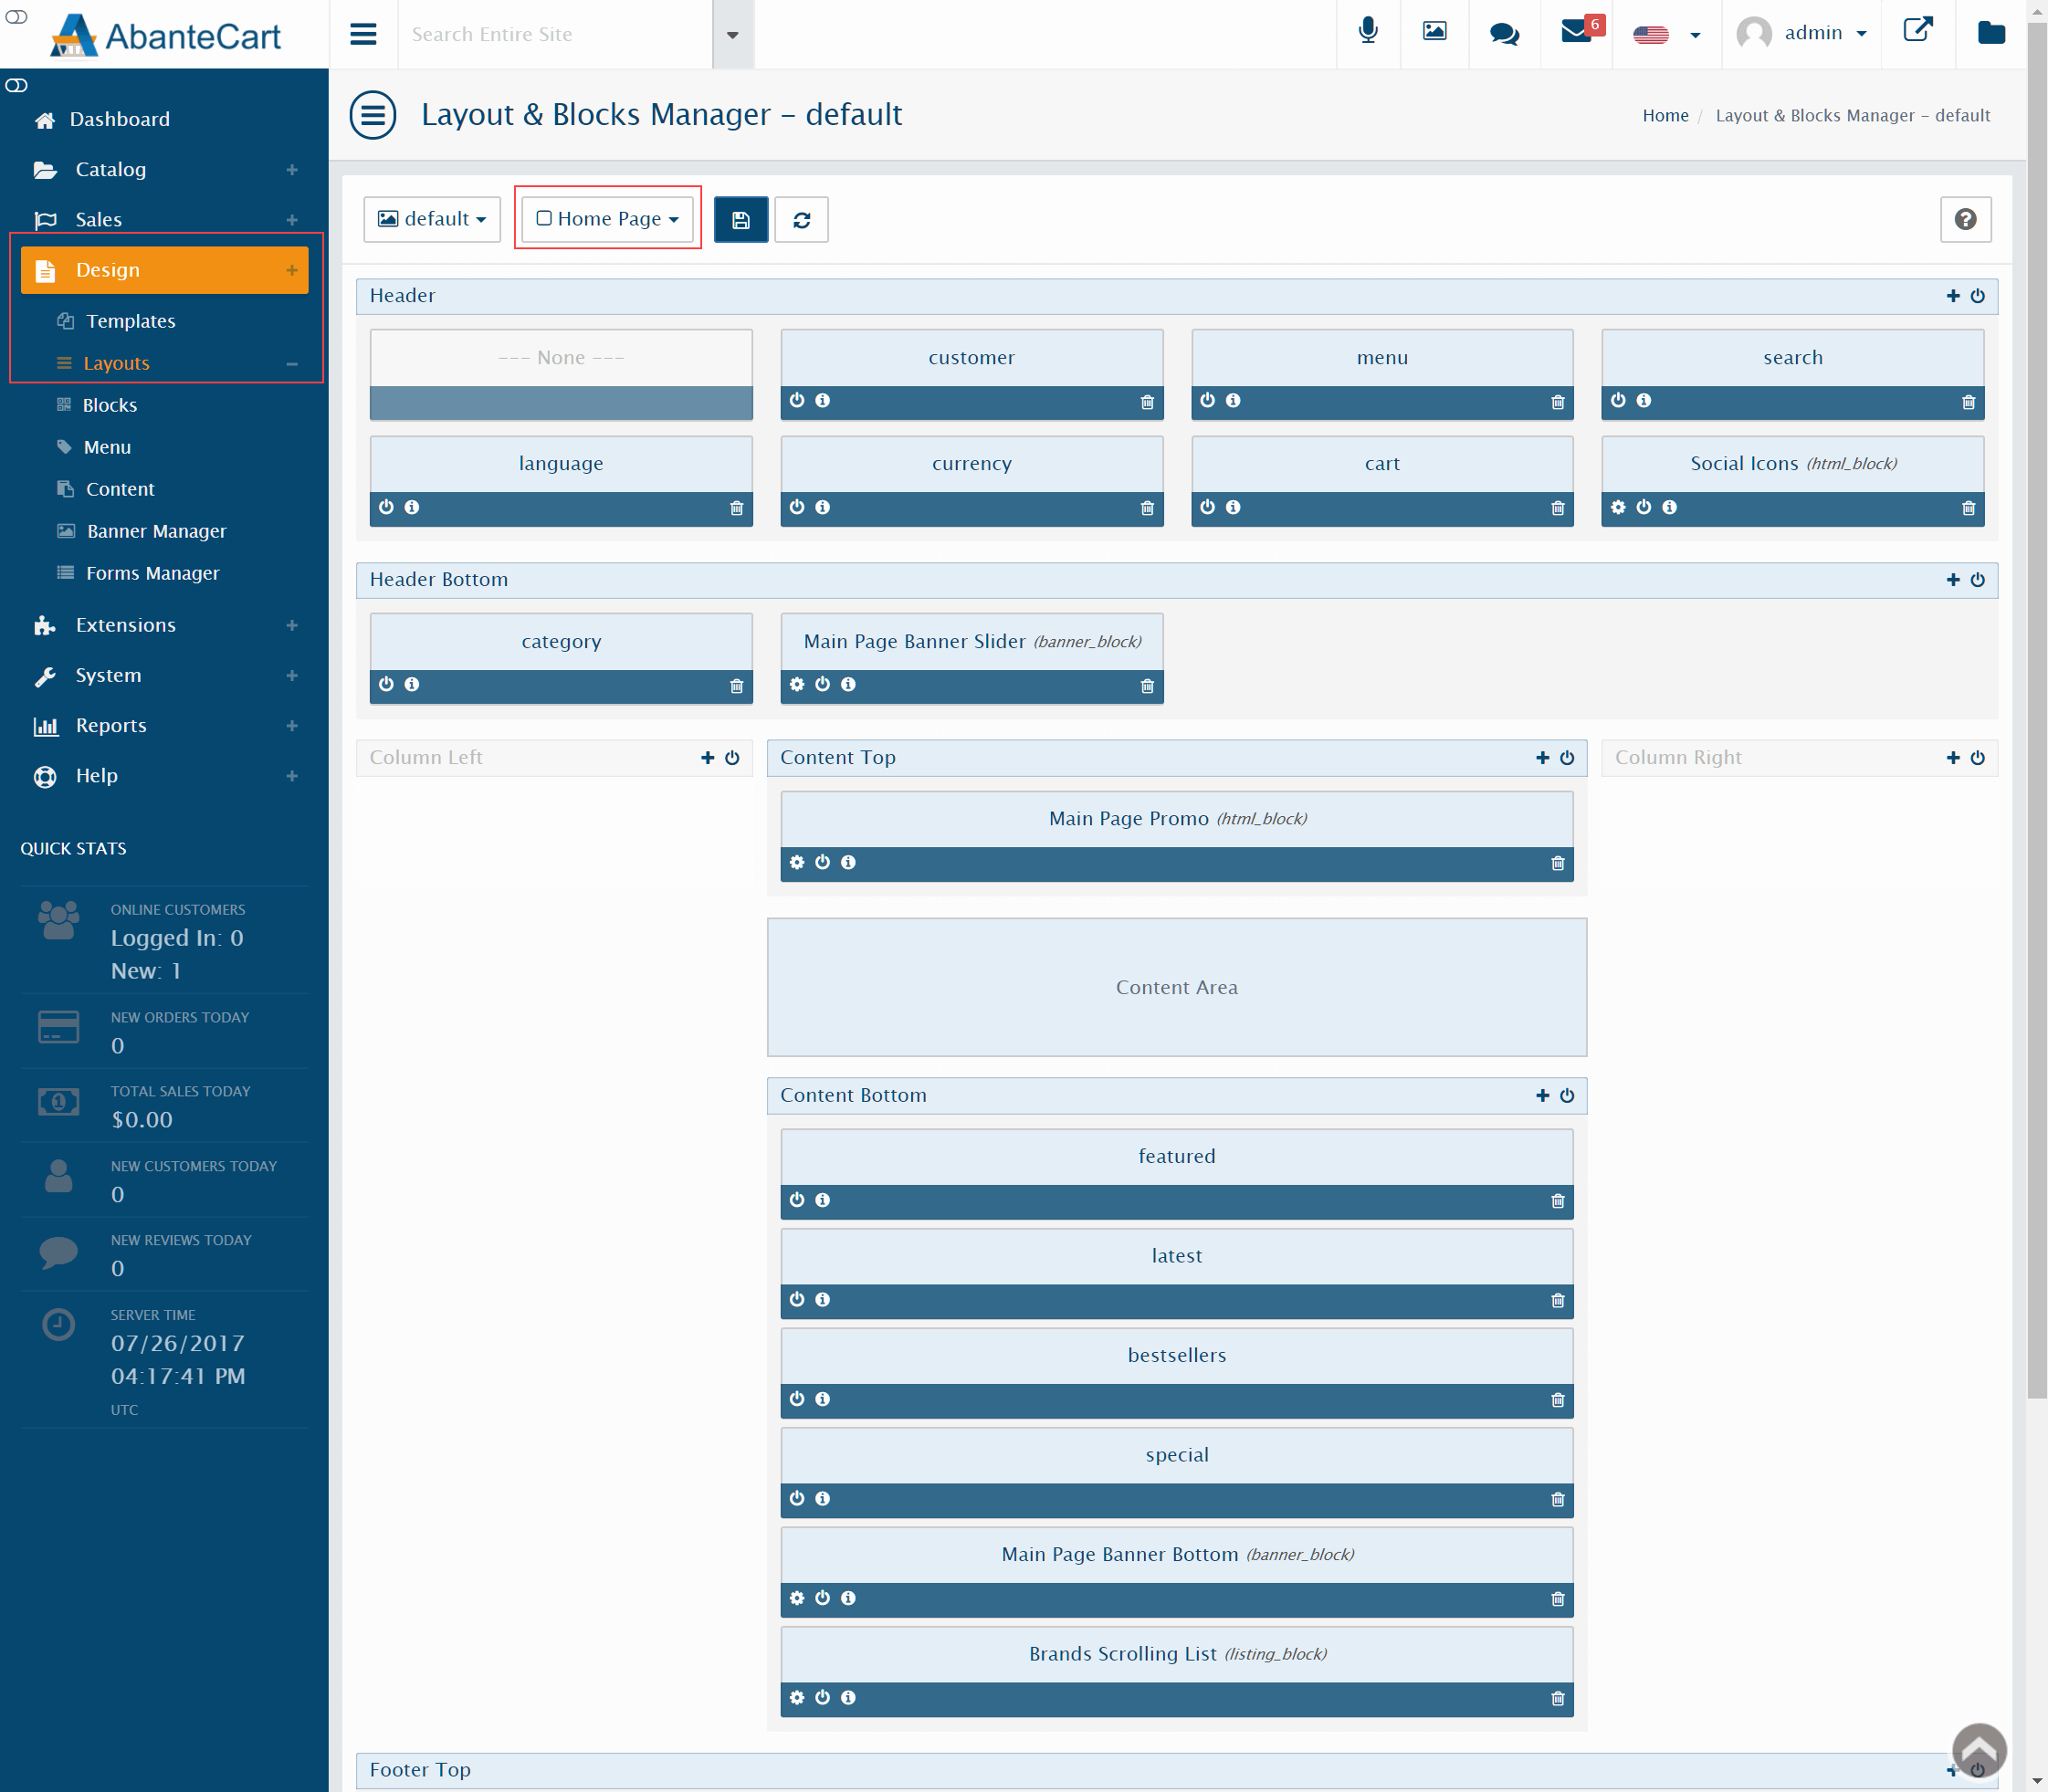
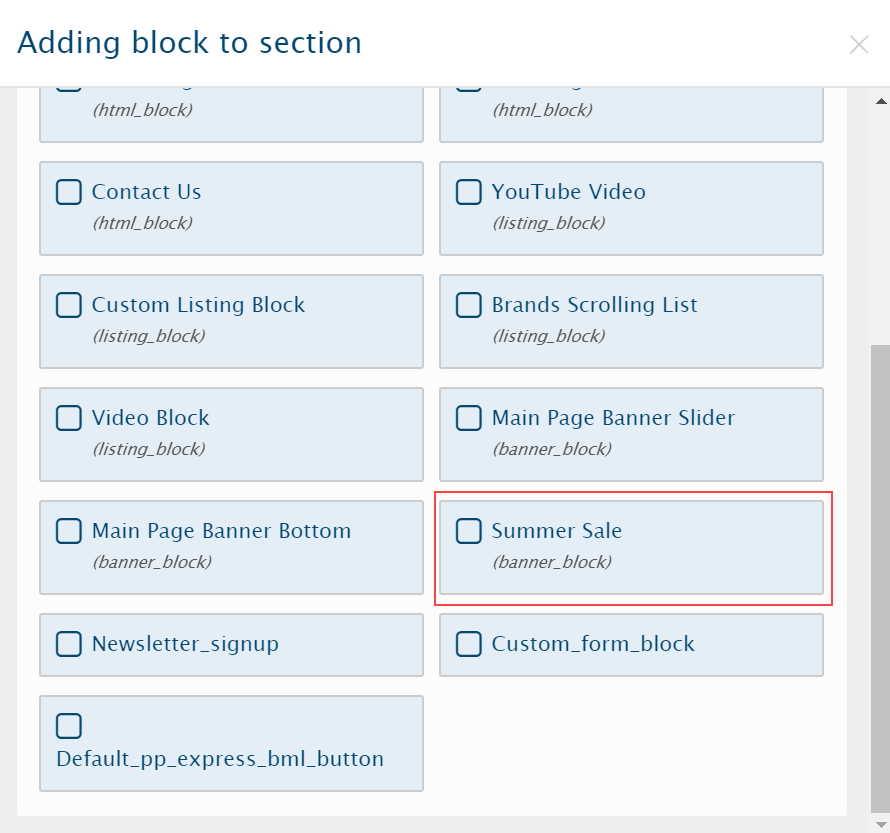
Click the Add + button on a section header to add your block.
Once added, use the power button on the block to enable it, then save the page layout.
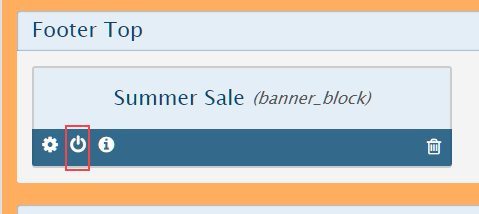
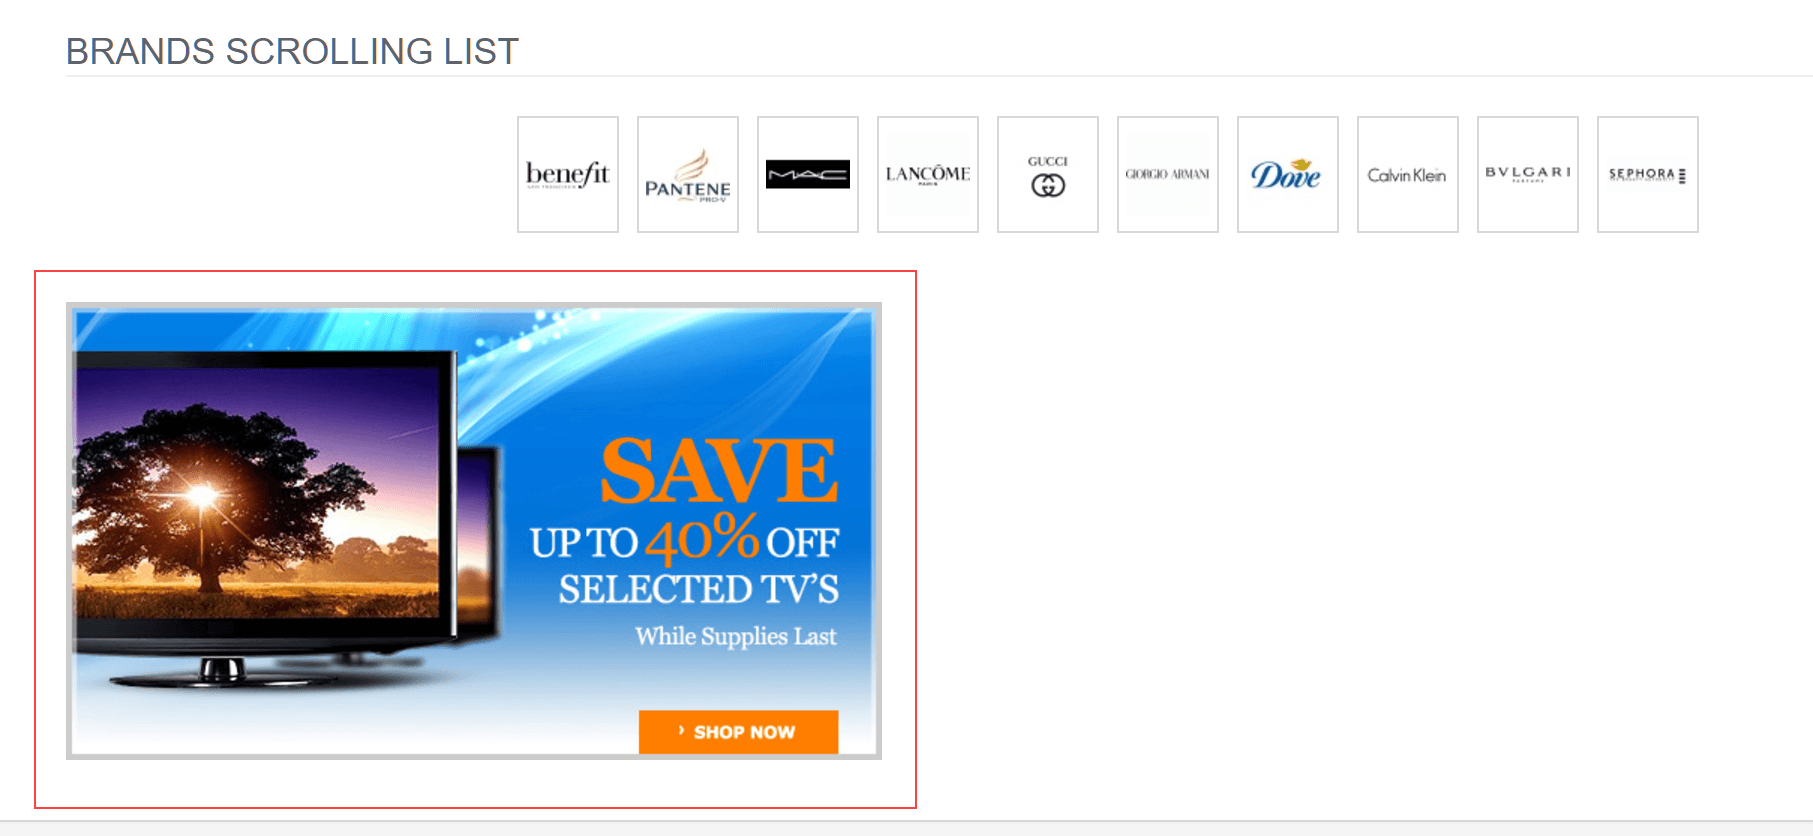
Head to the storefont to see your banner in action.
For further questions or if you need help, please open a support ticket from your HostPapa Dashboard. Follow this link to learn how.
