This tutorial describes how to set up Microsoft 365 email in Windows 10 Mail.
Open the Mail App by clicking Start in Windows and typing Mail, then click the Mail app.
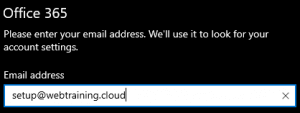
NOTE: For this tutorial, we will use setup@webtraining.cloud as our test email account. You will need to change some of the settings to match your setup.

Next, click the Accounts option in the left menu.
A new window area on the right, Manage accounts, will appear. In this area, click on the + Add account option, as shown below.

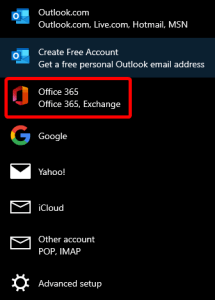
A new box will appear. Click on the Office 365 option.
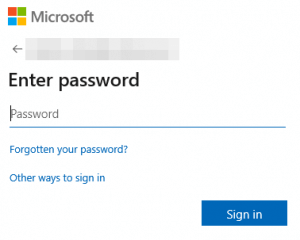
A new window will appear, showing web login options for your Office 365 account. Follow the login options to connect.
If you have 2 Step Verification setup, you’ll also need to authenticate your account from your mobile device when prompted.
After a good connection is made in the background, Windows Mail will ask for the name you wish to appear when sending emails from this email account. Simply fill this in, then click Sign In at the bottom of the window.
The Mail application will then notify you that the setup has been completed successfully.
Default Email Account Settings (Office 365 Email)
Secure SSL/TLS Settings (Recommended)
| Username: | Use the full email you are setting up. |
| Password: | Use the email account’s password. |
| Incoming Server: | outlook.office365.com
|
| Outgoing Server: | smtp.office365.com
|
| IMAP, POP3, and SMTP require authentication. | |
If you need help with your HostPapa account, please open a support ticket from your dashboard.
