Your HostPapa shared hosting service allows you to synchronize both your schedule and contacts across a range of devices and operating systems.
Calendar and contacts synchronization used common internet standards called CalDAV and CardDAV. These standards are supported on some operating systems, such as iOS and Mac OS. In contrast, configuration on other operating systems, such as Android and Windows requires assistance from third-party applications.
In this guide, we show you how to configure calendar and contacts synchronization on iOS and Mac OS devices using My cPanel in your HostPapa Dashboard.
Locate your Calendar and Contacts setup information
The first step is to retrieve your calendar and contact configuration details from My cPanel.
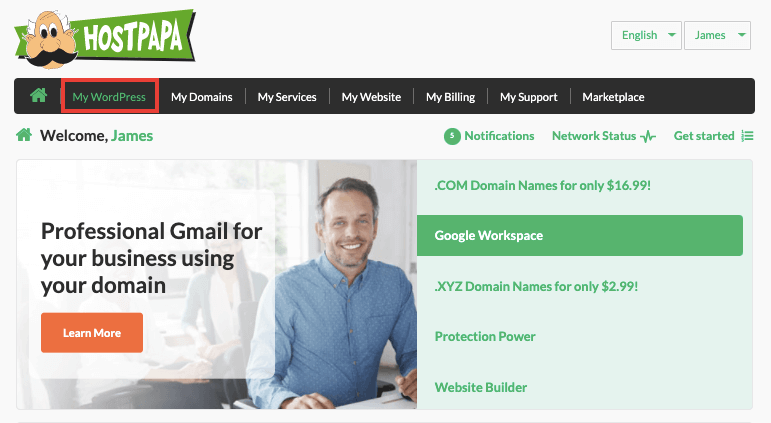
1. Sign in to the HostPapa dashboard.
2. Click on My cPanel or My WordPress in the navigation bar. cPanel will open in a new tab.
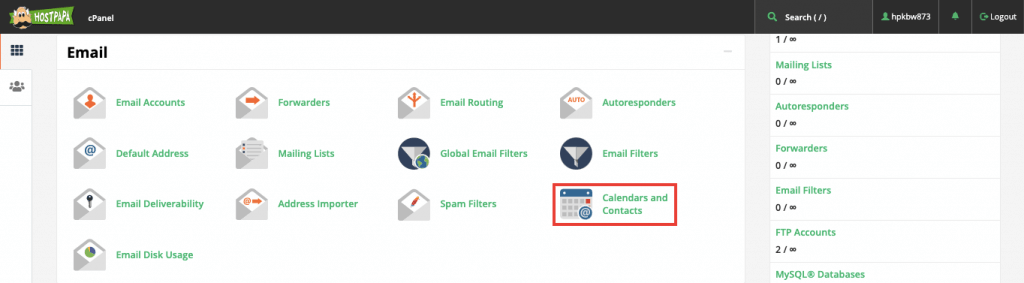
3. Scroll down to the Email section and select Calendars and Contacts.
4. Scroll down the page to find your setup information. You may need to click
- Username
- Password
- Server URL
- Alternate URL
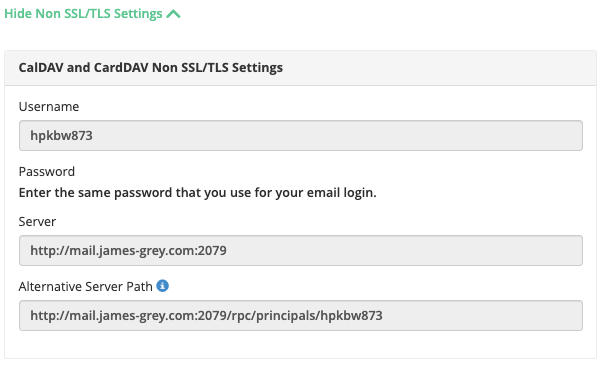
5. Note that both secure (SSL) and non-secure settings are available for use. However, we recommend using secure SSL settings where possible.
Set up calendar and contact synchronization
Follow the links below to set up calendar and contact synchronization for your operating system:
- Calendar synchronization for iOS devices
- Contacts synchronization for iOS devices
- Calendar synchronization for Mac OS devices
- Contacts synchronization for Mac OS devices
- Other operating systems
Calendar synchronization for iOS devices
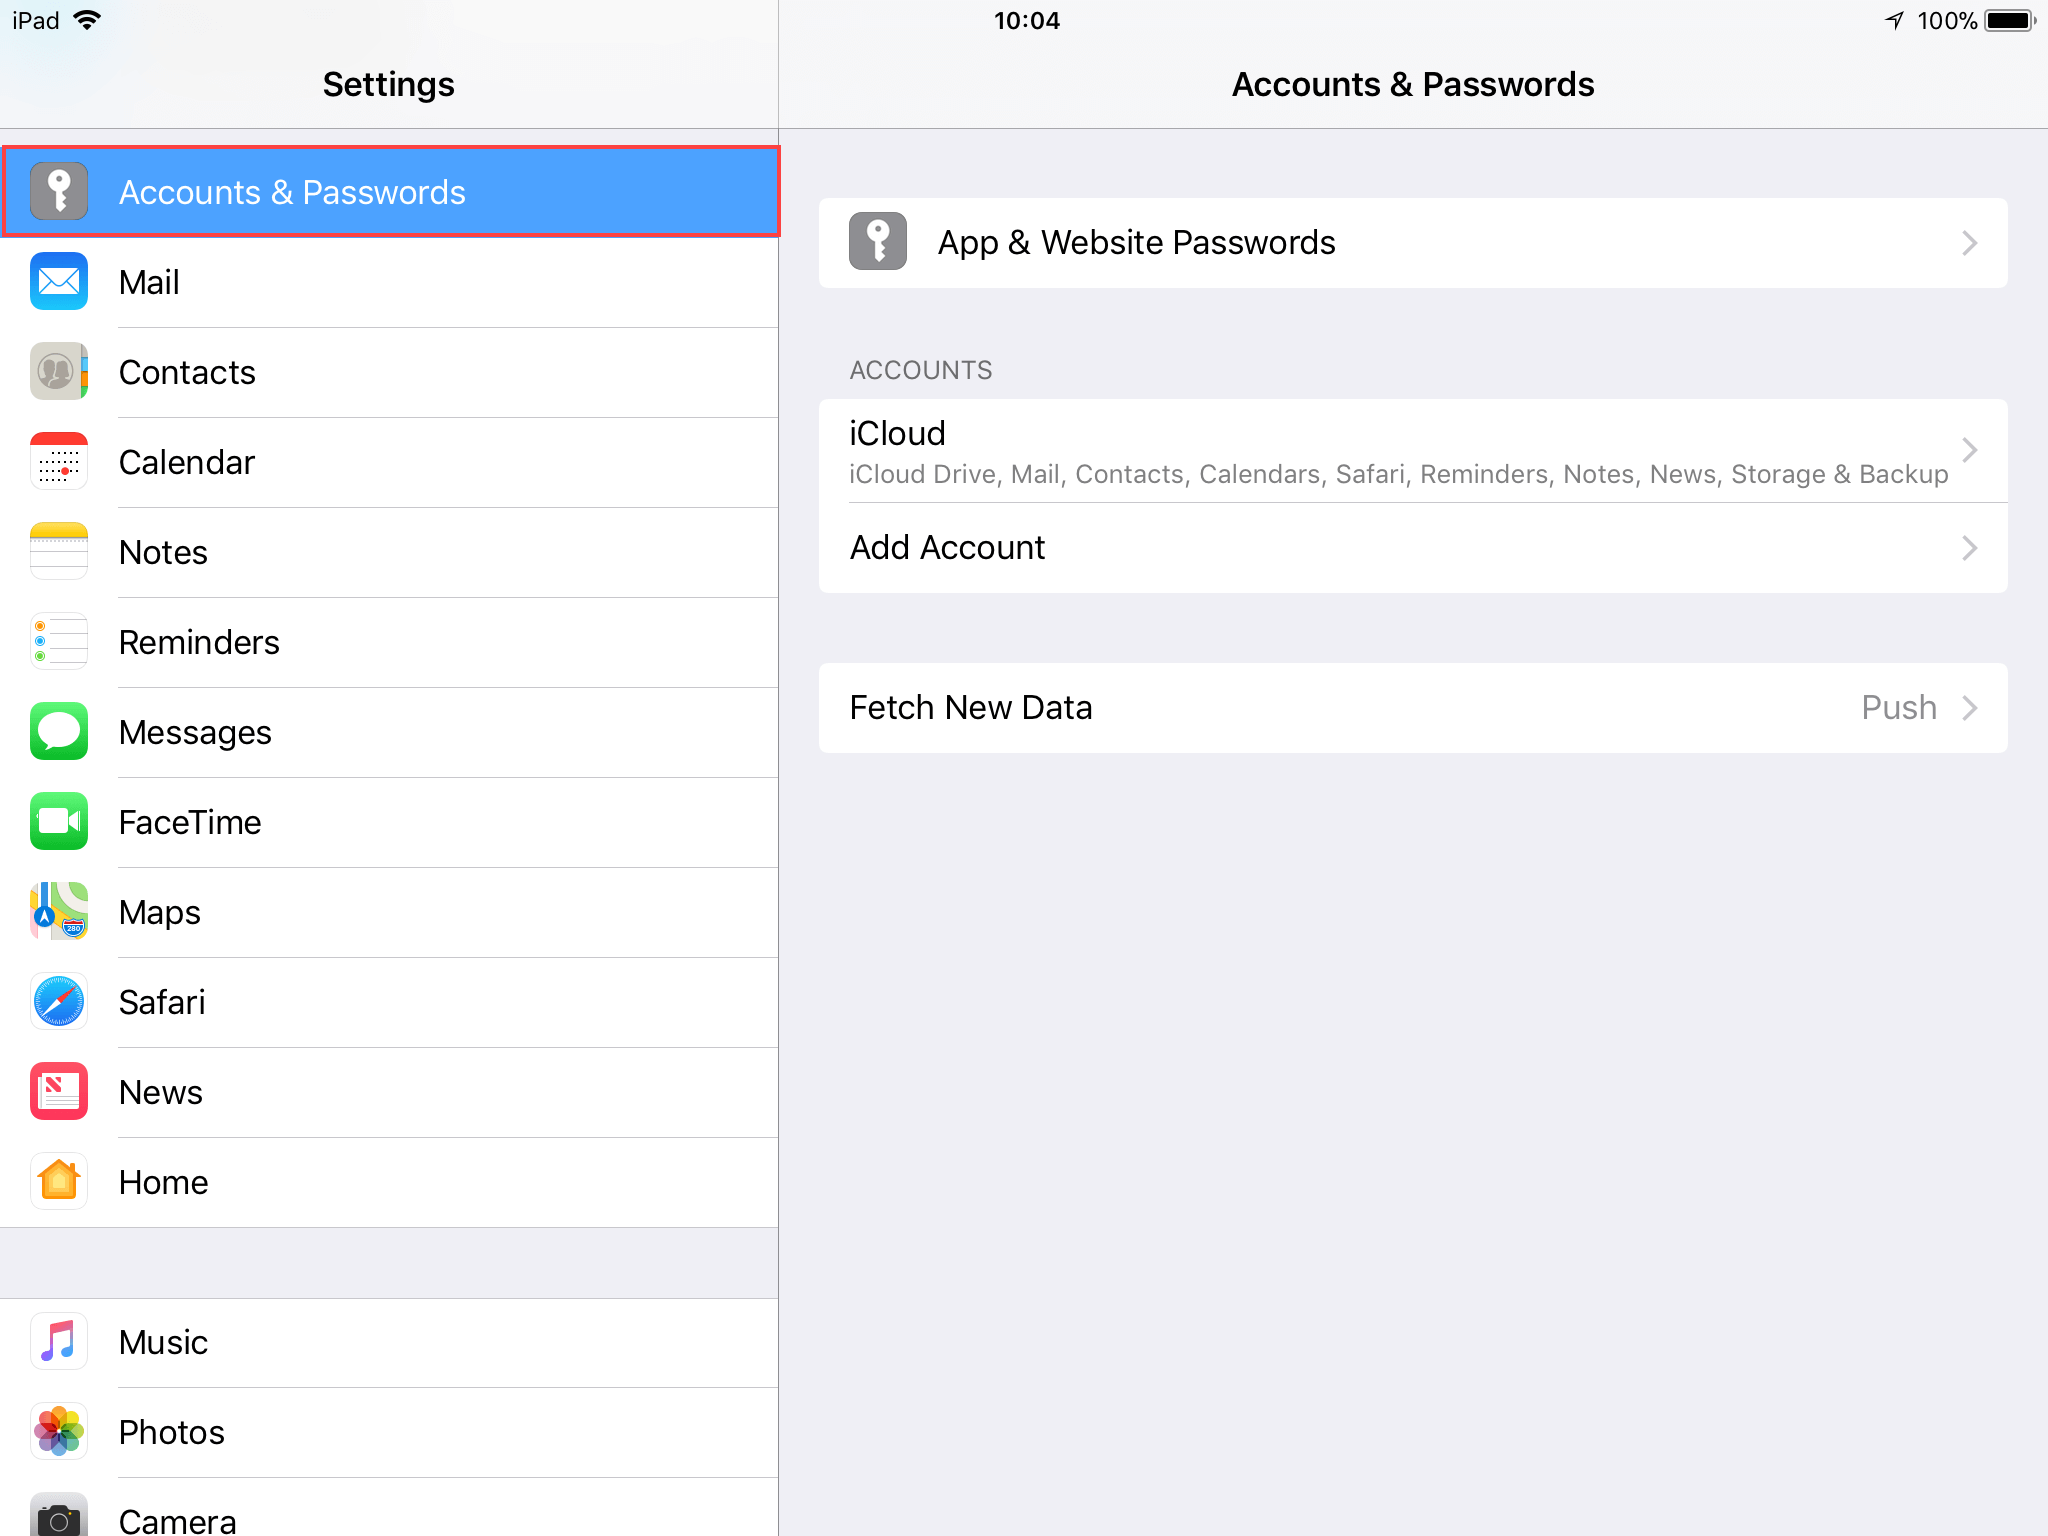
- On your iOS device, open the Settings menu.
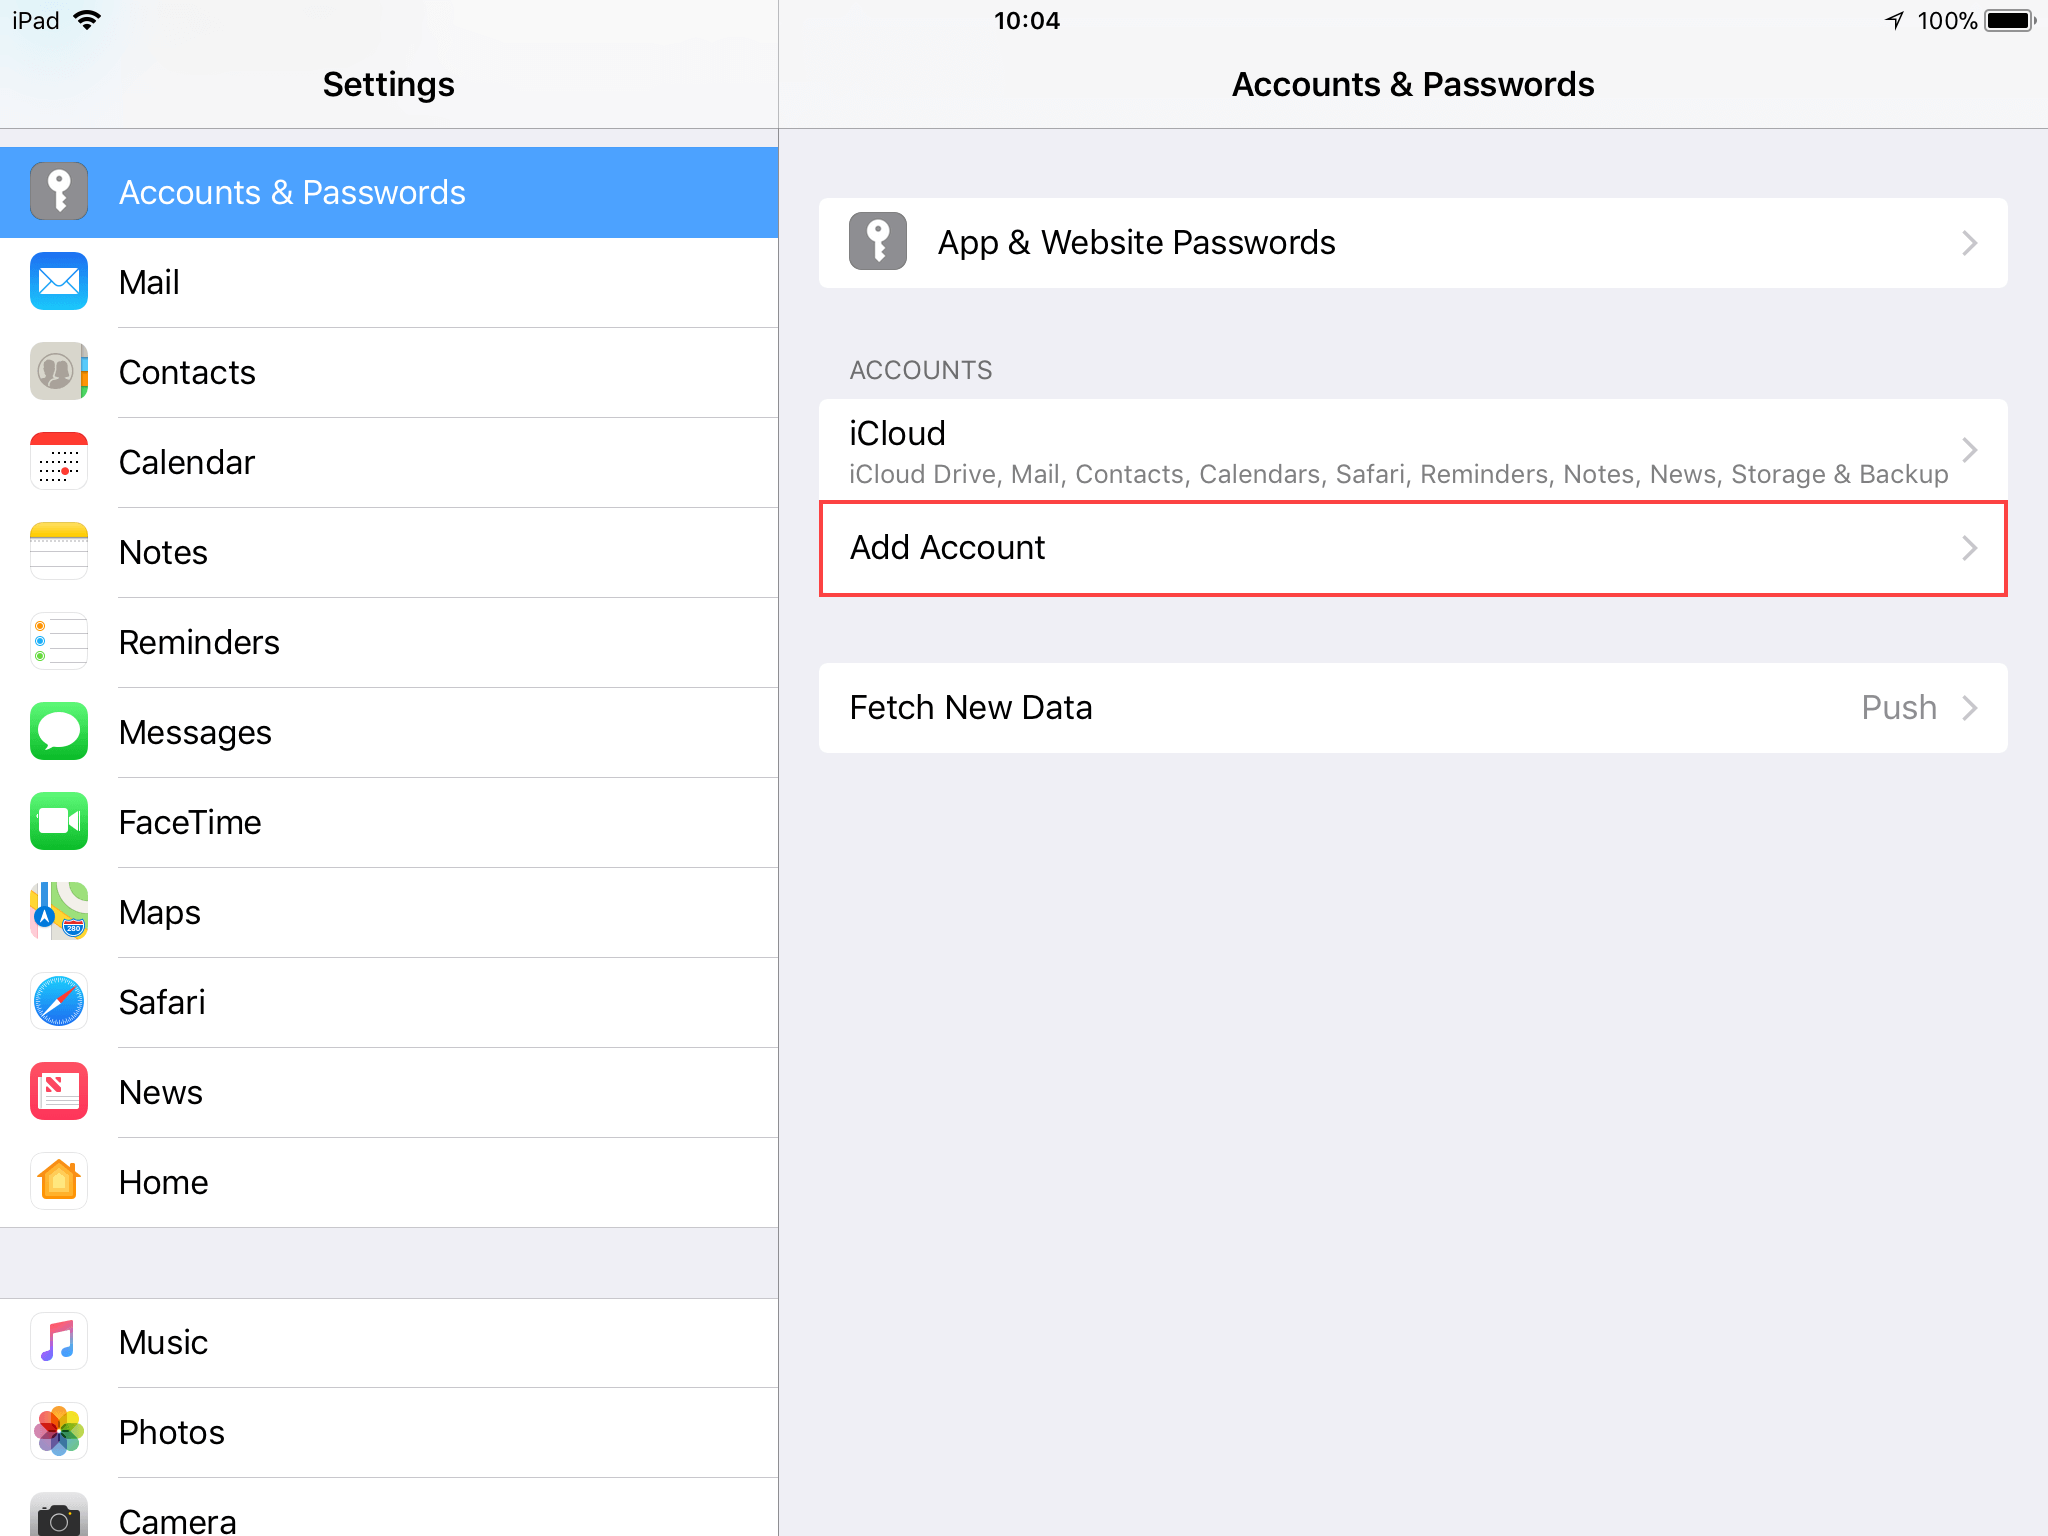
- Click Accounts & Passwords.
3. Click Add Account.
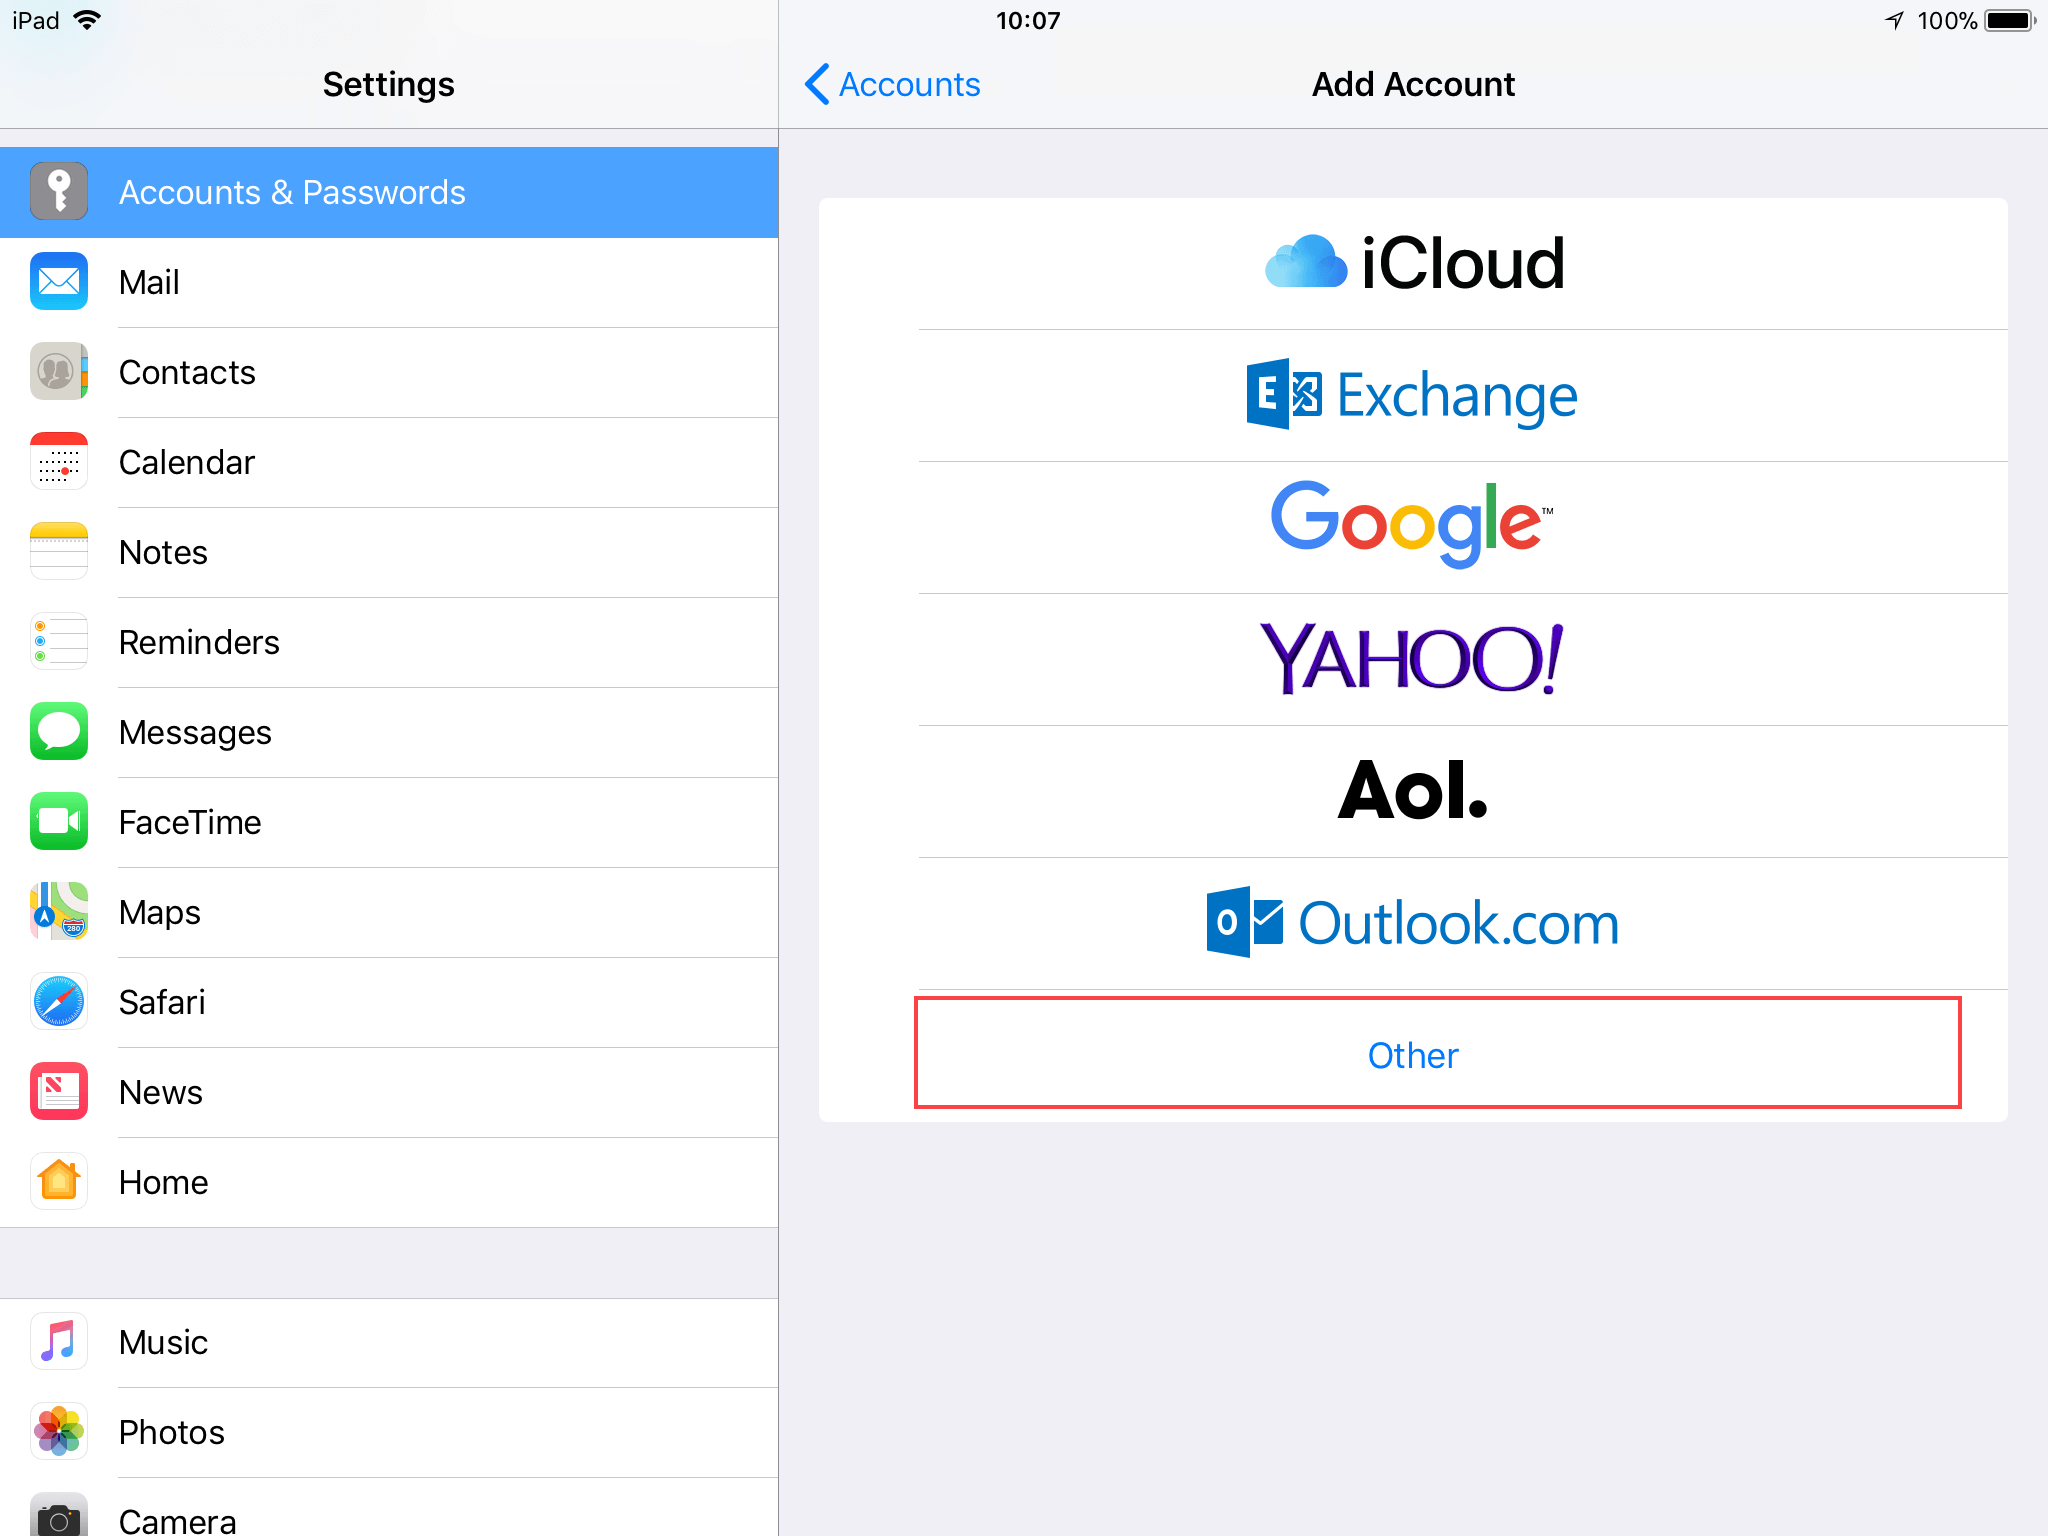
4. Select Other.
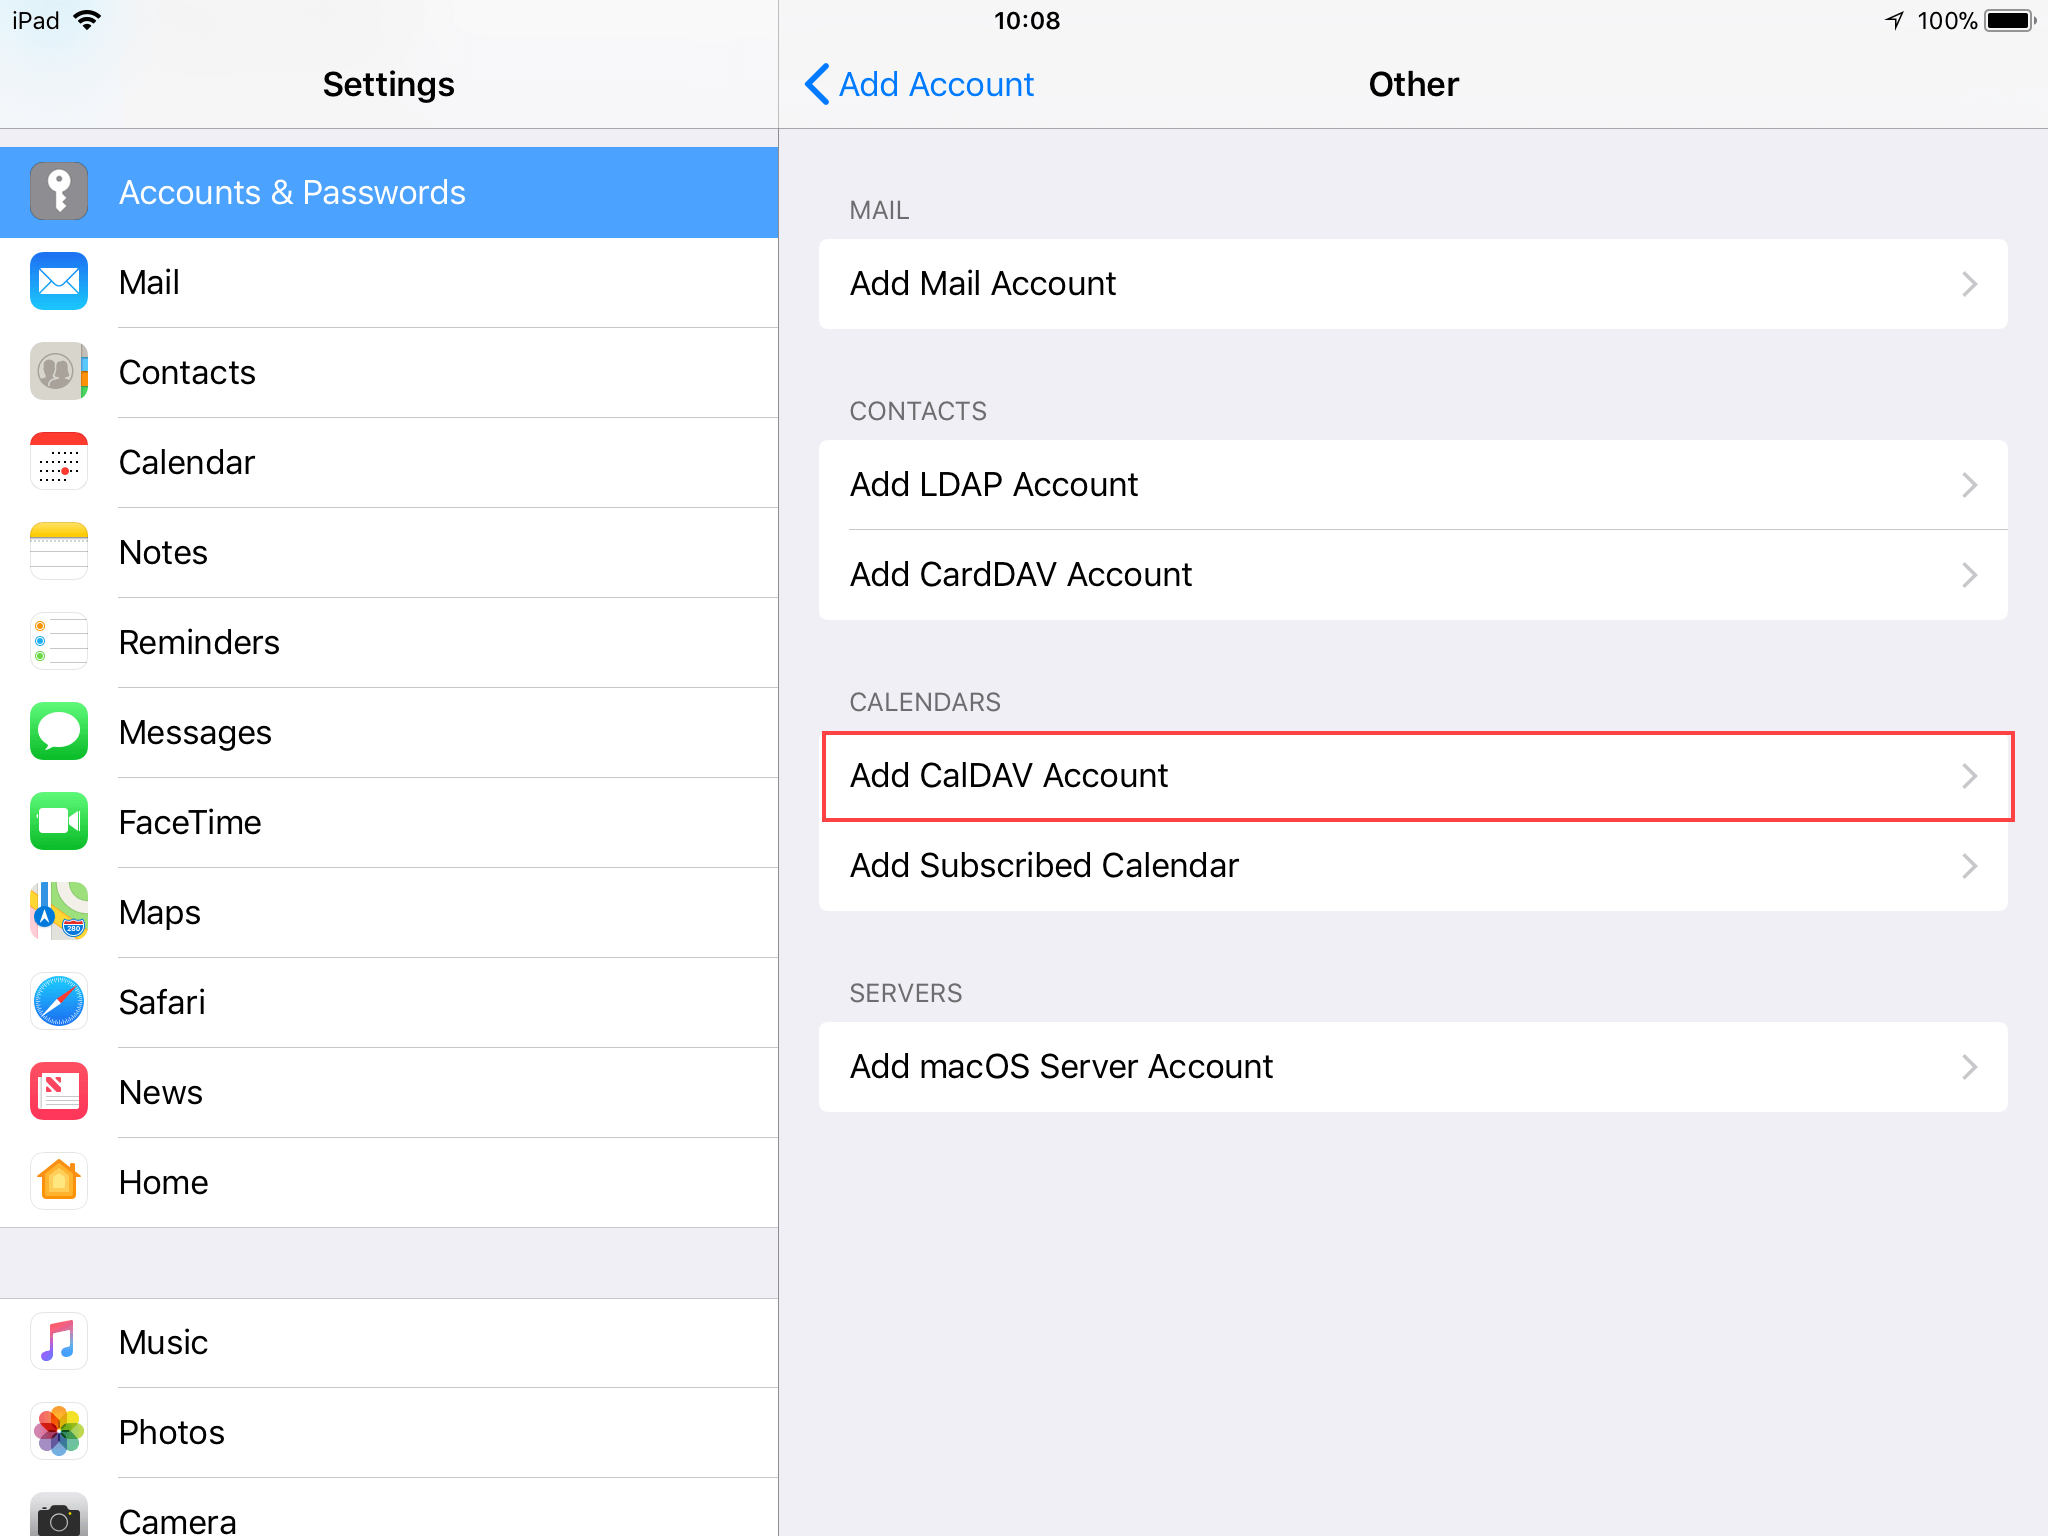
5. Under Calendars, click Add CalDAV Account.
6. Enter your Calendar setup information:
- Server: Your server URL. Remember, you must add port 2080 at the end of the server’s hostname for the setup to work correctly. For example, mydomain.com:2080.
- Username: Enter your username.
- Password: Enter your email password.
- Description: Enter a label for your account.
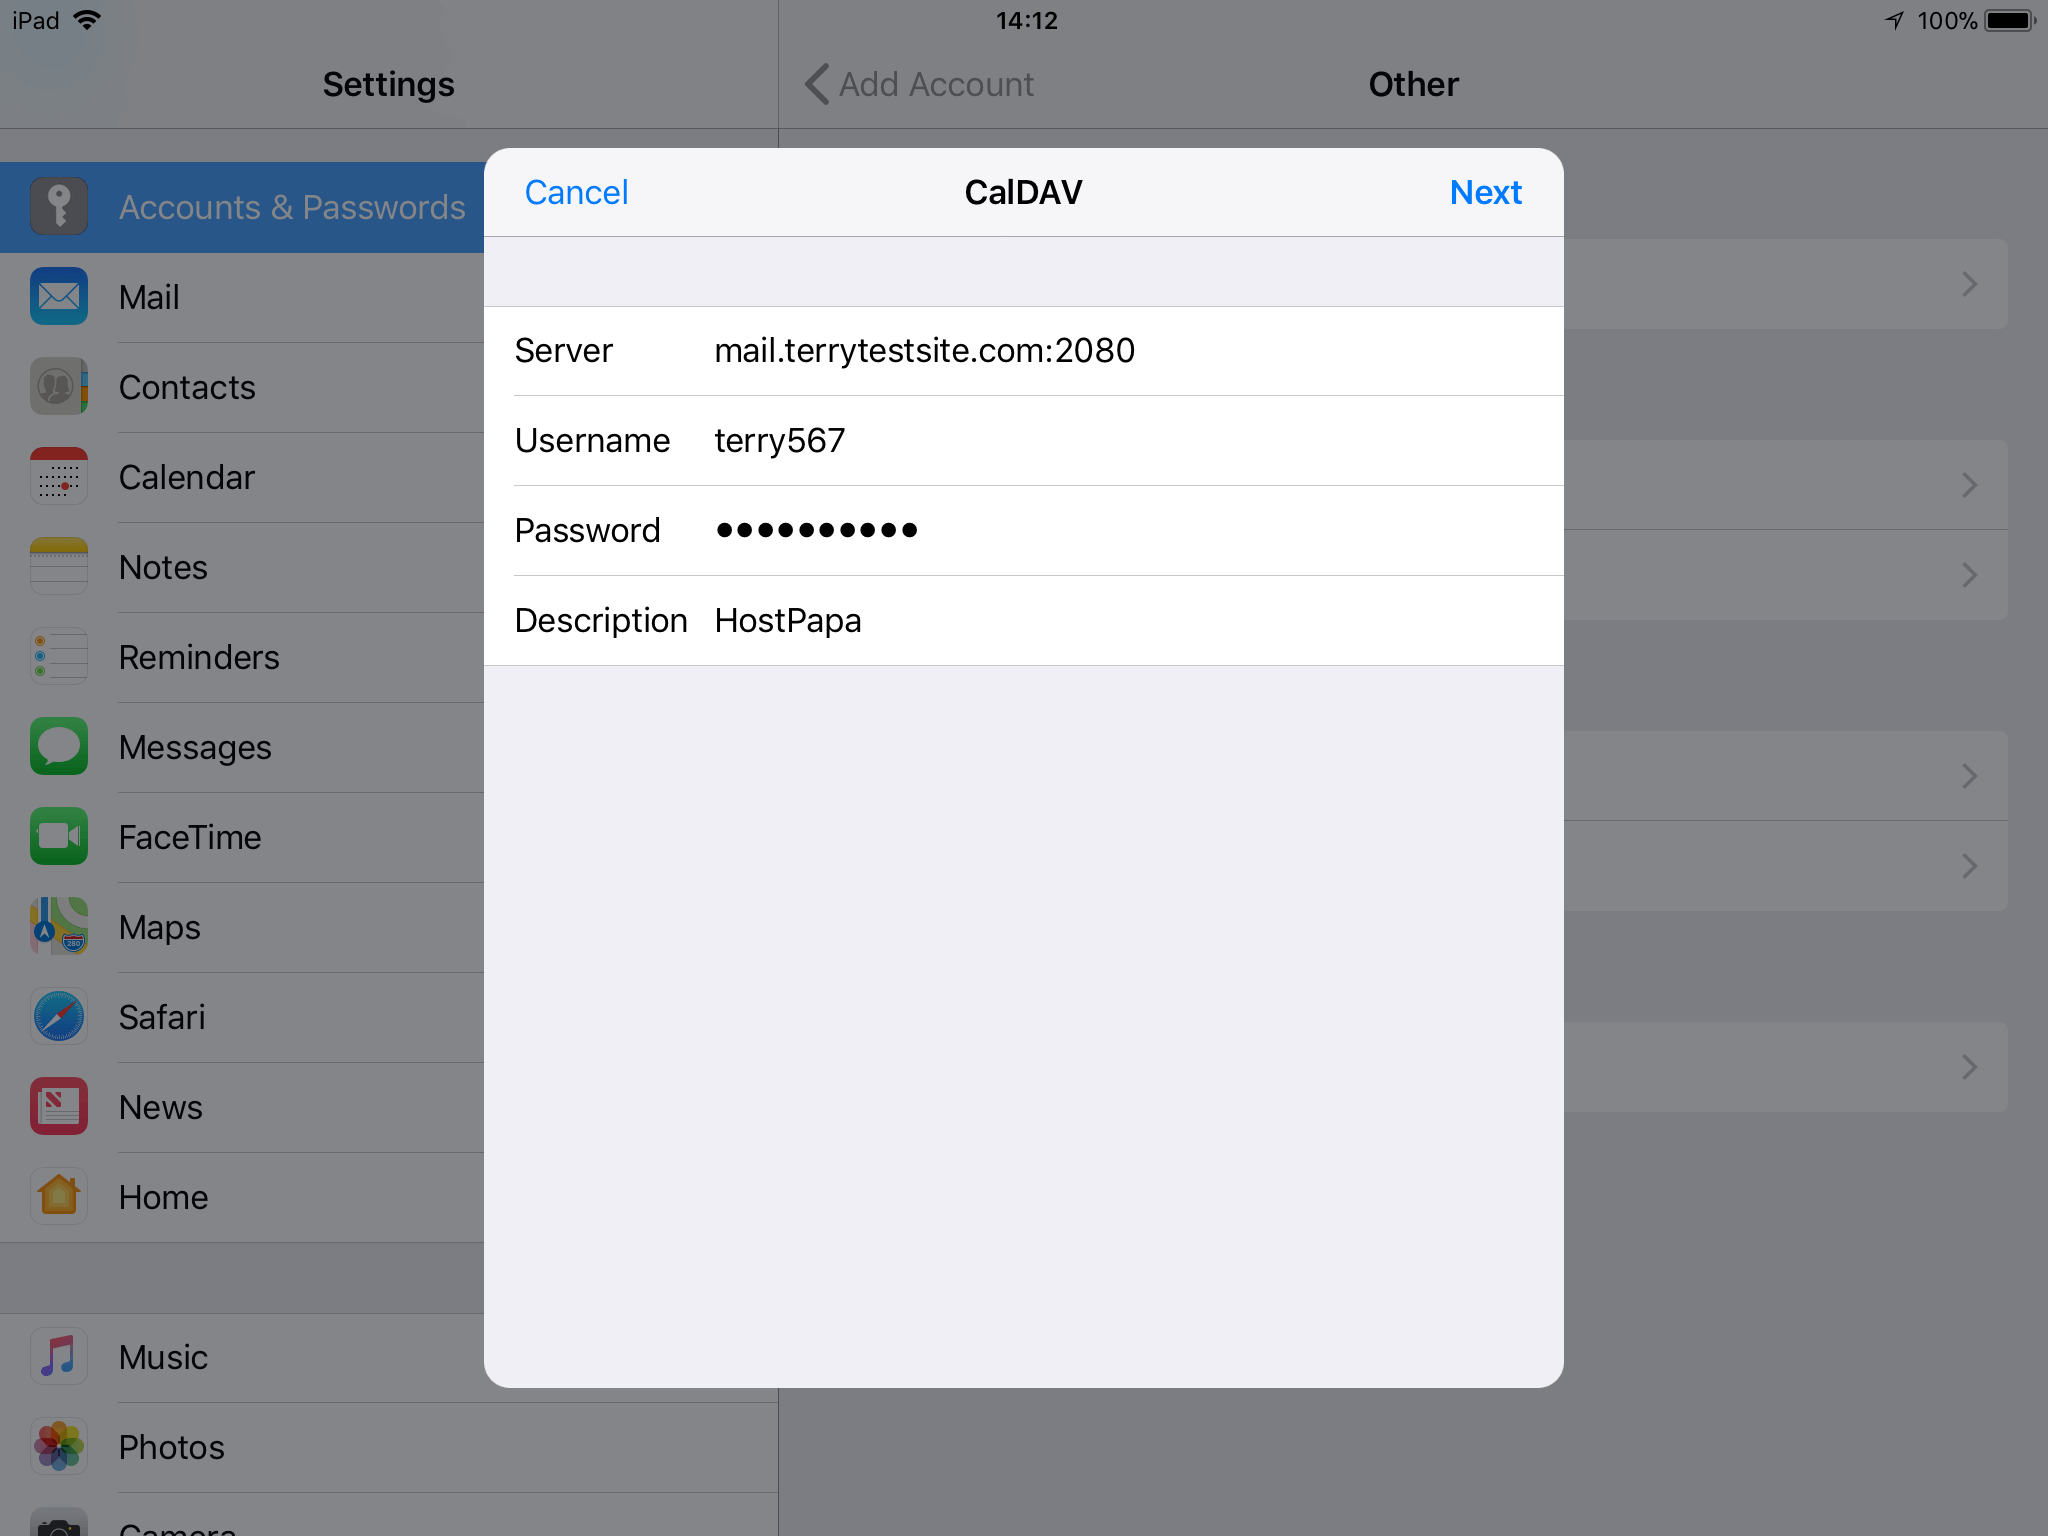
7. Click Next.
8. Ensure the Calendars option slider is active and click Save.
Calendar events in your hosting account will now be visible in the Calendar app on your device. Any changes made to your schedule will show up on your device with a refresh.
Contacts synchronization for iOS devices
- On your iOS device, open the Settings menu.
- Click Accounts & Passwords.
3. Click Add Account.
4. Select Other.
5. Under Contacts, click Add CardDAV Account.
6. Enter your Contacts setup information:
- Server: your server URL – remember, you must add port 2080 at the end of the server’s hostname for the setup to work correctly. For example, mydomain.com:2080.
- Username: enter your username.
- Password: enter your email password.
- Description: enter a label for your account.
7. Click Next.
Contacts from your hosting account will now be visible in the Contacts app on your device. Any changes made to your schedule will show up on your device with a refresh.
Calendar synchronization for Mac OS devices
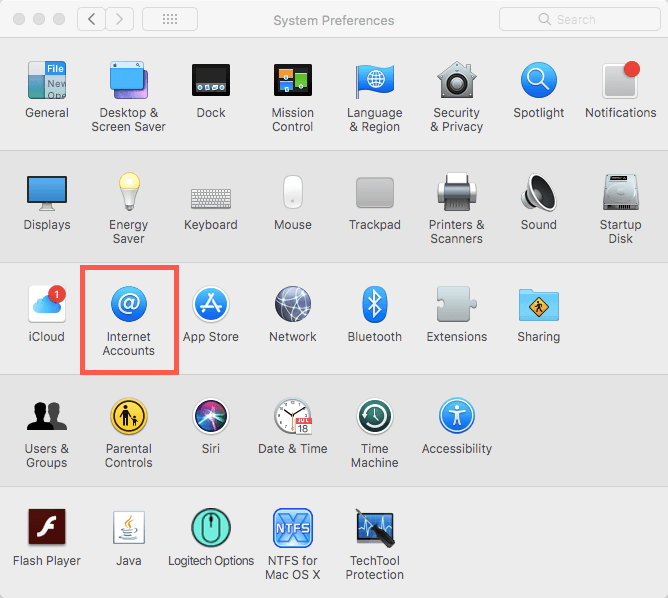
- Open System Preferences from the Apple menu.
- Click Internet Accounts.
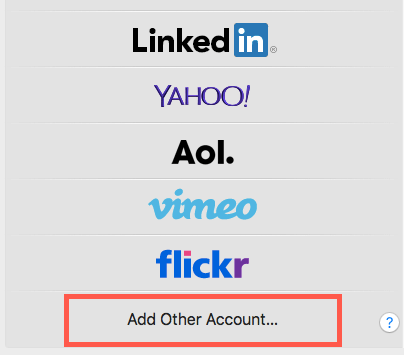
3. Click Add Other Account…
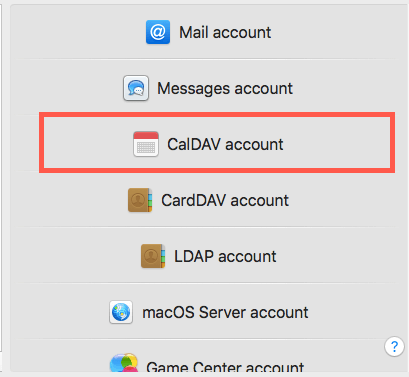
4. Select CalDAV account.
5. Enter your Calendar setup information:
- Account Type: Manual.
- Server: your server URL. Remember, you must add port 2080 at the end of the server’s hostname for the setup to work correctly. For example, mydomain.com:2080.
- Username: Enter your username.
- Password: Enter your email password.
- Description: Enter a label for your account.
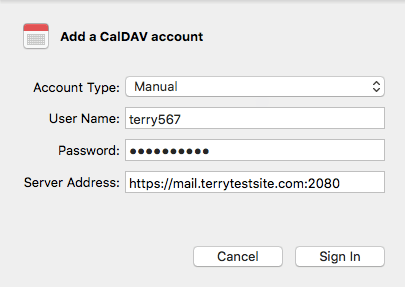
6. Click Sign In.
Calendar events in your hosting account will now be visible in the Calendar app on your device. Any changes made to your schedule will show up on your device with a refresh.
Contacts synchronization for Mac OS devices
- Open System Preferences from the Apple menu.
- Click Internet Accounts.
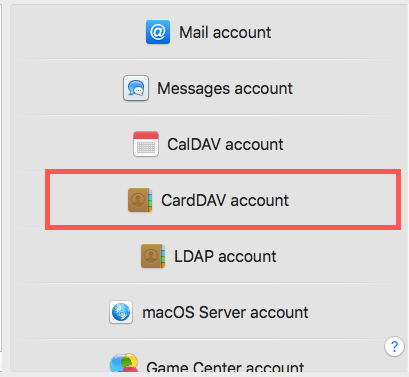
3. Click Add Other Account…
4. Select CardDAV account.
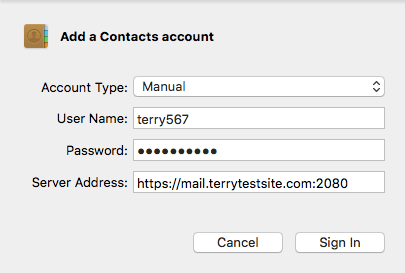
5. Enter your Contacts setup information:
- Account Type: Manual.
- Server: Your server URL. Remember, you must add port 2080 at the end of the server’s hostname for the setup to work correctly. For example, mydomain.com:2080.
- Username: Enter your username.
- Password: Enter your email password.
- Description: Enter a label for your account.
6. Click the Sign In button.
Contacts from your hosting account will now be visible in the Contacts app on your device. Any changes made to your schedule will show up on your device with a refresh.
Other operating systems
Other operating systems that support the CalDAV and CardDAV standards – whether natively or via a third-party client, should be compatible with cPanel calendar and contact synchronization. Next, follow the instructions provided by the operating system or client developer, inserting your cPanel setup information to connect to your server.
NOTE: Google, Apple iCloud, Yahoo!, or Microsoft Outlook must host your service provider for you to synchronize your calendars and contacts. You will not find any options for automatic or manual configurations of a custom service provider.
